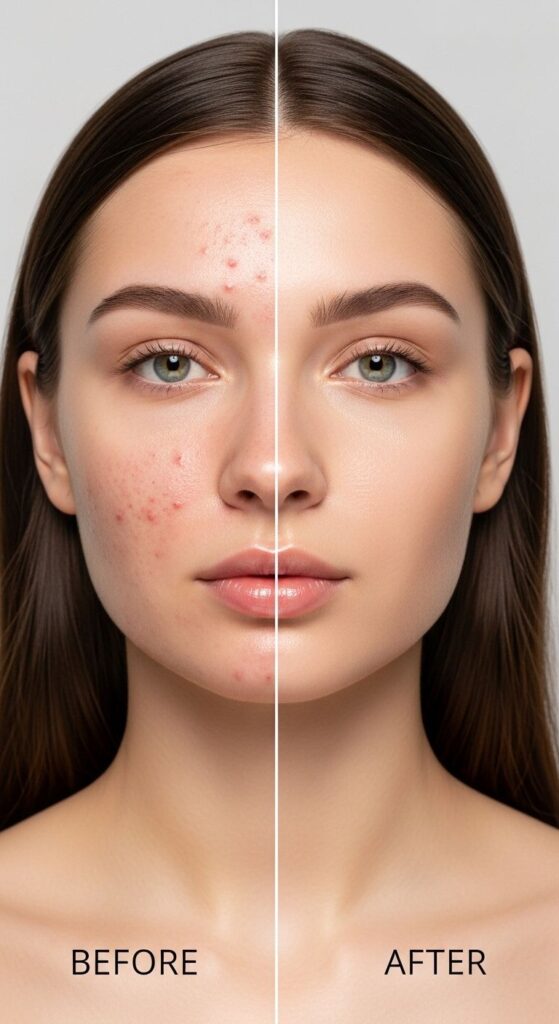
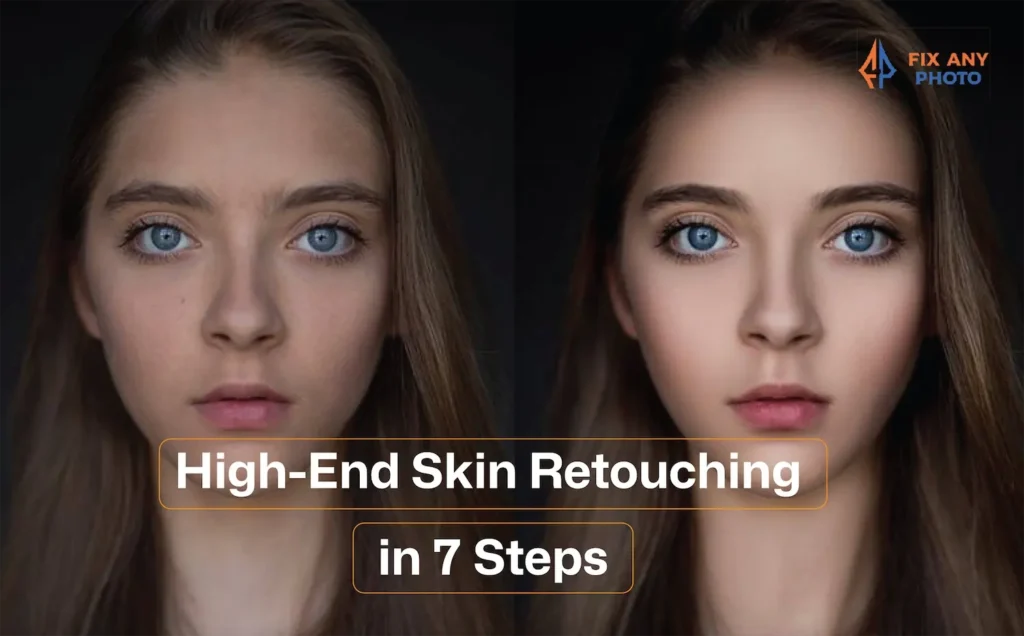
Ever notice how fashion magazines achieve skin that looks flawless yet completely natural? There’s no magic filter involved – just skilled, high-end retouching done with precision and restraint.
In this guide, we pull back the curtain on the exact step-by-step skin retouching workflow professionals use to refine portraits without erasing texture or personality.
Whether you’re a photographer perfecting editorial portraits or an e-commerce retoucher handling close-up model images, these high-end techniques will help you elevate your work.
From smart image preparation to advanced methods like frequency separation and dodge & burn, you’ll learn how to smooth skin, remove imperfections, and enhance features while keeping everything realistic. Say goodbye to flat, over-airbrushed faces, this is how high-end skin retouching is done the right way.
What Is High-End Skin Retouching (And Why Does Workflow Matter?)

High-end skin retouching is all about creating beautiful, natural-looking skin without making it look fake. When you look at images in fashion magazines, beauty ads, or professional portfolios, the skin looks smooth and clean, but it still looks real. You can see pores, fine texture, and natural depth. That’s the result of high-end retouching.
Unlike quick edits or automatic filters, high-end skin retouching is a careful, step-by-step process. Each adjustment is done with intention, patience, and control. And that’s exactly why workflow matters. A good workflow keeps your edits clean, consistent, and professional from start to finish.
How High-End Skin Retouching Different From Basic Retouching?
High-end skin retouching is very different from basic or fast retouching. The biggest difference is how the work is done and how natural the final result looks.
Manual techniques vs one-click filters
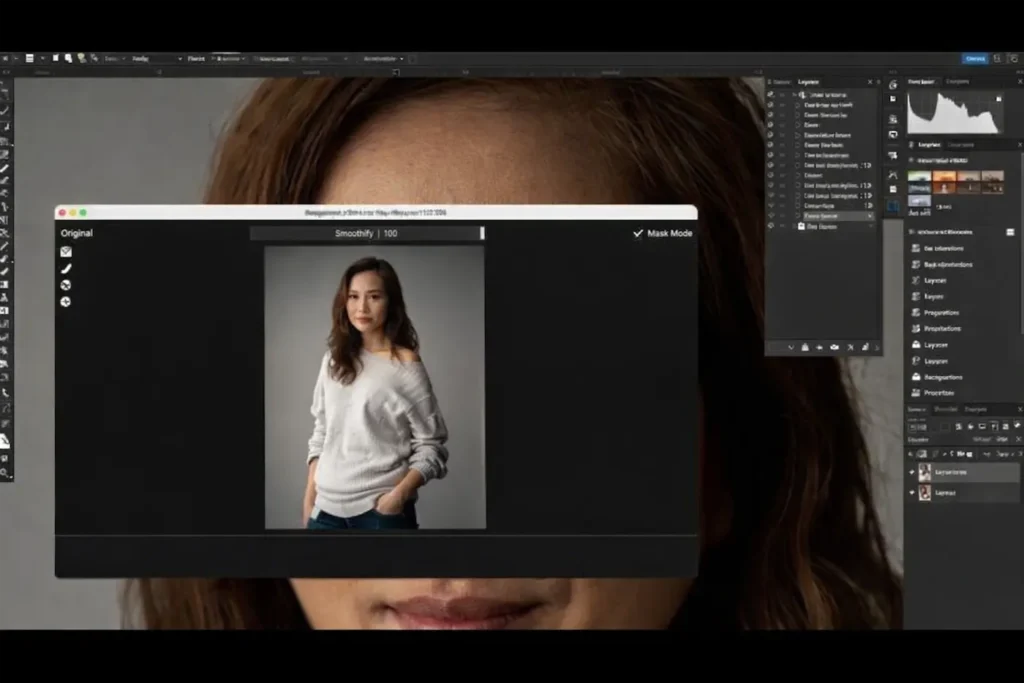
Basic retouching often depends on presets, plugins, or “one-click” skin-smoothing tools. These tools may look good at first, but they usually blur the skin too much and remove natural details.
High-end skin retouching is done manually, using tools like the Healing Brush, Clone Stamp, Frequency Separation, and Dodge & Burn. Every edit is placed by hand. This allows you to control how much you change and where you change it. Nothing is automatic, and nothing is rushed.
Targeted, local edits instead of global changes
In basic retouching, the same effect is often applied to the entire face or image. For example, a skin-smoothing filter may affect the eyes, lips, hair, and background—even if those areas don’t need fixing.
High-end retouching works differently. You only fix problem areas, such as small blemishes, uneven tones, or harsh shadows. Healthy skin is left alone. This targeted approach keeps the image balanced and realistic.
Non-destructive, layered editing
High-end skin retouching is always done using layers and adjustment layers. Nothing is edited directly on the original image. This means:
- You can turn edits on or off
- You can adjust strength at any time
- You can easily fix mistakes
This non-destructive method is extremely important for professional work, especially when clients ask for revisions.
Preserving natural skin texture and pores
The main goal of high-end skin retouching is not perfect skin, but believable skin. Real people have pores, fine lines, and texture, and high-end retouching keeps those details.
Instead of blurring skin, high-end techniques smooth tone while protecting texture. The result is skin that looks clean, soft, and healthy, but still real.
Why Do You Need High-End Retouching Workflow?

A step-by-step workflow is what separates a beginner from a professional retoucher. It gives structure to your work and helps you avoid common mistakes like over-editing or uneven results.
Consistent results across multiple images
When working on a photoshoot or campaign, all images must match. Skin tone, contrast, and texture should look consistent from photo to photo.
A clear workflow ensures that every image follows the same process. This is especially important for fashion, beauty, and commercial projects where consistency is critical.
Faster and more controlled retouching over time
High-end retouching takes time—but a workflow actually saves time in the long run. When you follow the same steps every time, you stop guessing and start working with confidence.
Over time, your speed improves because you already know:
- What to fix first
- Which tools to use
- When to move to the next step
This leads to faster results without lowering quality.
Clean layer organization for easy revisions
Clients often request changes. Without a proper workflow, revisions can be stressful and messy.
With a clean, layered structure, revisions become simple. You can adjust skin tone, reduce smoothing, or change contrast without redoing the entire edit. This makes you look professional and reliable to clients.
Better creative decisions at every stage
A step-by-step workflow helps you know when to stop. Many retouchers ruin good images by doing too much.
When each step has a purpose, you make smarter decisions:
- You fix only what needs fixing
- You avoid over-smoothing
- You keep the subject’s natural character
This is what creates true high-end results, images that look polished, natural, and timeless.
Step‑by‑Step High‑End Skin Retouching Workflow

Before diving into tools and steps, remember the golden rule of high-end retouching: the goal is to enhance the existing beauty, not to paint on a new face. We’re not here to erase pores or make a 40-year-old look 16, we’re here to present the person (or product) in the best possible light, authentically.
That means preserving texture, unique features, and a sense of realism. Keep this in mind at every step. The difference between a beginner edit and a high-end edit often comes down to restraint and attention to detail.
Step 1: Start with a High-Quality Base Image
High-end retouching works best on high-quality images, so shoot RAW and ensure proper exposure from the get-go. If you have a well-lit, sharp photo, you won’t have to “fix” fundamental issues later (which never looks as good). So before retouching, do basic RAW adjustments:
- Correct the white balance so skin tones are accurate.
- Adjust exposure if the image is too dark or bright; aim for a balanced histogram without blown highlights or crushed shadows.
- Apply mild lens corrections if needed (to fix distortion or vignetting).
Think of this as creating a solid foundation. If the image is underexposed or very contrasty, correct that now in Lightroom or Camera Raw. The fewer global problems the photo has, the more you can focus on the nuanced retouching.
Also, remove any obvious distractions at this stage (a flyaway hair across the face, a glaring spot on the background) using simple tools, just to clean up the workspace.
Step 2: Duplicating and Organizing Layers
Once in Photoshop, set up your layers for a non-destructive workflow. High-end retouchers always work non-destructively, meaning the original image layer is untouched and all edits are on new layers.
- Duplicate your background layer (so you have a backup of the original if needed).
- Create separate layers for different tasks – for example, one for blemish removal, one for dodge & burn, etc. Name them clearly (“Blemishes”, “DodgeBurn”, etc.). This layer-based approach lets you fine-tune or undo any step without starting over.
- Set up a blank layer for healing/cloning (for blemishes) and make sure your healing brush or clone tool is sampling from all layers. This way, you can remove spots on a transparent layer, keeping the base intact.
- If needed, create an empty Overlay layer filled with 50% gray (we’ll use this in Step 5 for dodge & burn).
Organizing upfront might seem tedious, but it’s the backbone of high-end retouching. Pros have files with dozens of layers for each tiny tweak. This allows complete flexibility if you or the client want changes later.
Step 3: Blemish Removal – Spot Healing and Cloning
Now to the satisfying part – removing temporary blemishes and distractions:
- Use the Healing Brush or Clone Stamp on your “Blemishes” layer to zap away pimples, small scars, stray hairs, dust, and any surface imperfections. In portraits, this means pimples, stray facial hairs, or specks of makeup. In product close-ups (like clothing on a model), this could mean lint, sensor dust spots, or minor fabric defects.
- Zoom in close (like 100% or more) for this work. High-end means caring about details that might be invisible at first glance. Remove anything that is not a permanent feature of the subject. For a model, do not remove permanent moles or defining scars unless the brief says so those can be part of someone’s identity (or the brand’s choice). For now, focus on the unwanted “temporary” stuff.
- Be cautious with healing on areas of texture (like skin pores). A trick: use a cloning on a low opacity (30-50%) to gently reduce a blemish without flat-out smoothing the skin. This keeps some skin texture in place. Remember, avoid the “blurry” look, we want to keep natural pores and grain.
By the end of this step, the skin (or product surface) should look clean but still textured. You’ve essentially performed a digital “cleanup” similar to what a makeup artist or stylist would do physically.
As one industry expert said, “Products that look bad in photos seem like bad products to customers, the same goes for a model’s skin. We want it to look well cared-for and pristine, as if she just has great skin (not like she’s wearing a Snapchat smoothing filter).
And if you zoom out and the person suddenly looks like a plastic doll, you went too far, hit undo a few times and restore some realness.
Step 4: Frequency Separation – Smooth Tone, Preserve Texture
Frequency separation (FS) is a core high-end retouching technique when used carefully. It lets you smooth uneven skin tone and color without destroying natural texture like pores and fine lines.
The idea is simple:
- Low frequency = color and tone (redness, shadows, blotches)
- High frequency = fine detail (pores, hair, skin grain)
By separating them, you can fix tone problems without blurring texture—and vice versa.
Quick Setup
- Duplicate your base layer twice.
- Name them Low (tone) and High (texture).
- Turn off High, select Low, and apply Gaussian Blur until pores disappear but facial shapes remain (usually radius 5–8, depending on resolution).
- Turn High back on → Image > Apply Image
- Source: Low
- Blending: Subtract
- Scale: 2, Offset: 128
- Set High layer blending mode to Linear Light.
If done correctly, the image should look unchanged when both layers are on.
Working on the Low Layer (Tone)
- Use Lasso (feather ~20px) + slight Gaussian Blur to smooth blotchy redness or uneven shadows.
- Focus on blending transitions, not repainting skin.
- Fix under-eye darkness, red patches, or uneven lighting here.
- Subtlety is everything—small moves, frequent checks.
Working on the High Layer (Texture)
- Use the Healing Brush to clean bumps, scars, or rough texture.
- Because this layer holds only detail, healing won’t affect skin color.
- Blend bad texture with nearby good texture for natural results.
Key Mindset
Done right, FS gives silky tones with real pores still visible, no plastic skin. It’s powerful, but easy to overdo. Many top retouchers use it lightly or even skip it in favor of pure dodge & burn.
Pro Rule: Fix what needs fixing. Leave the rest alone.
If the skin already looks even, don’t force frequency separation just because it’s available.
Step 5: Dodge and Burn – Sculpting Light for Perfect Skin
Now for arguably the most important step in high-end skin work: Dodge and Burn (D&B). This technique involves selectively lightening (dodging) or darkening (burning) tiny areas of the image to even out tone and add dimension.
It’s like digital makeup and contouring. Dodge & burn can correct slight unevenness that no filter can, think small shadows in creases, slight variations in skin tone, or enhancing the highlights and shadows to make a face or product look more 3D.
Set up:
- If you haven’t already, create a new layer set to Overlay blending mode and fill it with 50% gray (Photoshop has an option for “Fill with 50% gray” when you make a new layer in Overlay/Soft Light mode). Name it “DodgeBurn.”
- Also, create a black & white adjustment layer on top of everything (temporarily), this helps to see luminosity differences without color distraction. Some retouchers also add a curves layer set to extreme contrast to act as a “check layer” to spot unevenness. You can group these check layers and toggle on/off as needed.
Choose a soft round Brush and set the foreground color to white for dodging and black for burning. Keep brush opacity low, around 5–10%, and work zoomed in at 50–100% for better control.
Dodging (lightening):
Look for darker areas like acne marks, shadows beside the nose, mild under-eye darkness, or uneven skin patches. Gently paint white on the Dodge & Burn layer to lift these areas so they blend smoothly with surrounding skin. Use multiple light strokes and build up slowly—never rush this step.
Burning (darkening): Switch to black and target overly bright spots such as shiny areas on the forehead or places that became too light after dodging. You can also enhance natural shape by slightly darkening cheekbone creases or jawline shadows—only where natural depth already exists.
Quick tip: Hold Alt to temporarily switch between dodge and burn while painting. If you use the Dodge/Burn tool instead of a gray layer, keep exposure very low (3–5%) to avoid harsh changes.
This step takes patience, but it’s where high-end retouching truly shines. Dodge & burn evens out skin tone without destroying texture, making blemishes disappear naturally while pores remain intact. The skin looks refined, not filtered.
Zoom out often to check the full face. The effect should be subtle but powerful. If you notice patchy tones or color shifts, ease back or fix them on a separate color-correction layer.
At a professional level, micro dodge & burn can take hours, but the payoff is unmatched realism. Many top beauty retouchers rely on dodge & burn alone because it preserves 100% of skin detail.
In this workflow, combining light frequency separation for speed with careful dodge & burn for precision delivers clean, natural results without the plastic look.
Step 6: Other Enhancements – Eyes, Lips, and Features
Skin is the big one, but don’t forget to give attention to other facial (or product) features after the heavy lifting:
Eyes: Gently brighten the whites and add a subtle dodge to catchlights for sparkle. You can lightly enhance iris color if needed, but avoid over-brightening, eyes should keep natural shading. If they start to glow, you’ve gone too far.
Teeth: Lightly desaturate yellow tones and raise brightness just a bit. Aim for healthy, natural white, not a neon “toothpaste ad” look. Very mild adjustments keep texture and realism.
Lips: Heal dry or cracked areas, then add a soft dodge to highlights or a touch of saturation to enhance moisture. Keep it consistent with the existing makeup style.
Hair: Clean up distracting flyaways with clone/heal. Subtle dodge and burn along hair highlights and shadows can add shine and depth. Keep hairlines neat, especially around the forehead.
Makeup & Details: Fix eyeshadow fallout, mascara smudges, or uneven lipstick if needed. You can softly even out makeup on a low-opacity layer, but only when necessary, less work usually means better makeup to begin with.
For product-focused retouch on a model (like apparel), features matter less than the product itself, but still: ensure the model’s skin and presentation doesn’t detract. If they have an elbow or knee showing, yes, we retouch those skin areas too. The workflow is the same.
Step 7: Global Checks and Color Grading
Now that the detailed work is done, zoom out and take a good look at the image as a whole:
- Does the skin tone match the rest of the body? Sometimes after retouching the face, you realize the arms or neck look a bit different. You might use a soft brush to warm up or cool down other areas to match (or dodge/burn a bit on body skin if needed for consistency).
- Did the retouching inadvertently flatten contrast? If so, a gentle global contrast adjustment or use of curves can bring back punch. High-end images often have a nice contrast that makes them pop, but without blowing out highlights.
- Consider a gentle color grade or overall sharpening as a finishing touch. For instance, adding a slight warmth or a unified tone can give a cohesive feel. Many retouchers add a tiny bit of grain at the end too, yes, grain! – to unify the texture and avoid the image looking overly digital. A subtle 1px Gaussian noise then partially masked out of very smooth areas can bring back a natural feel.
Finally, check the image against what it needs to match. If it’s for a product page next to other images, ensure consistency (e.g., don’t make this one dramatically more contrasty or different color cast than others). If it’s a standalone beauty shot, make sure it aligns with the brand’s style or the creative brief.
Once satisfied, save your layered file (for future tweaks if needed) and then export a high-quality JPEG or the required format for use.
High-End Skin Retouching Workflow Checklist
| Workflow Stage | What to Do | Key Goal |
|---|---|---|
| Basic Adjustments | Fix exposure, white balance, and color in RAW before retouching | Create a clean, accurate base image |
| Layer Setup | Duplicate layers and set up non-destructive blank editing layers | Maintain flexibility and safe editing |
| Blemish Removal | Spot-heal and clone pimples, dust, stray hairs on a separate layer | Clean skin without affecting texture |
| Frequency Separation | Smooth uneven tones on Low layer, fix texture issues on High layer | Even skin while preserving pores |
| Dodge & Burn | Lighten and darken micro areas to balance tone and shape | Achieve natural, high-end skin realism |
| Feature Enhancements | Subtly refine eyes, teeth, lips, hair, and makeup | Enhance features without overdoing |
| Global Polish | Apply gentle color grading, contrast, or clarity adjustments | Create a cohesive, polished look |
| Quality Control | Zoom in/out, compare before & after | Ensure skin looks real, detailed, and alive |
Conclusion
High-end skin retouching is about subtlety, control, and respecting natural skin. A clear, step-by-step workflow helps you work cleanly, avoid over-editing, and achieve consistent, professional results.
When done right, the retouching shouldn’t be obvious. Skin looks smooth but real, texture stays intact, and the subject still looks like themselves, just refined and polished.
Master the process, practice restraint, and remember: in high-end retouching, knowing when to stop is just as important as knowing what to fix.


