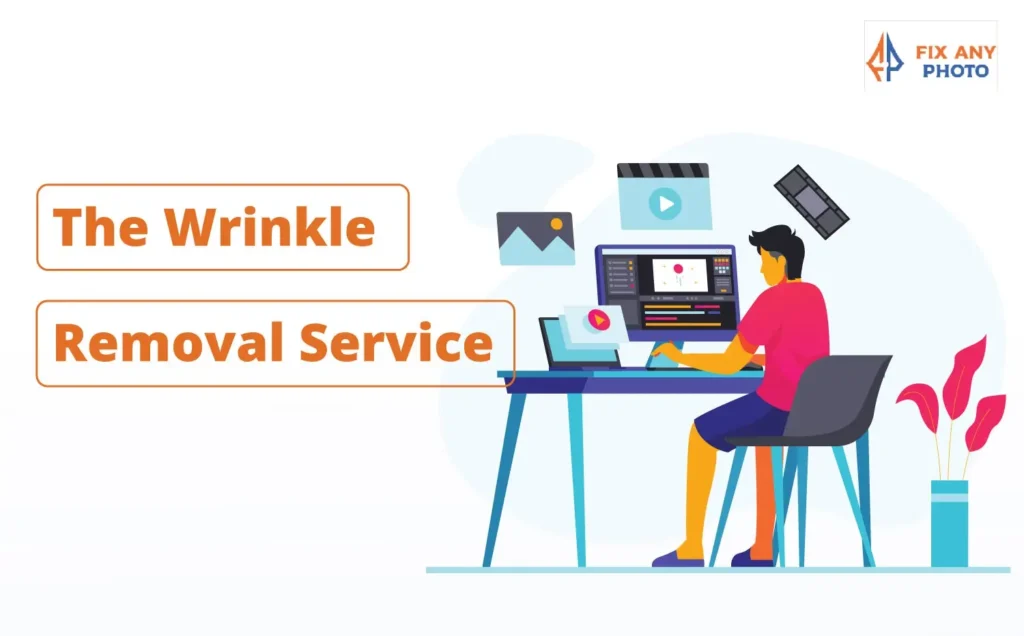
You’ve got a perfect smile, great lighting, and just the right pose, but those fine lines and wrinkles? They show up every single time. That’s where a professional wrinkle removal service changes everything.
Here’s the truth: wrinkle removal isn’t about erasing age or chasing perfection. It’s about bringing out your best version, with clearer skin, smoother fabric, and more polished visuals that still feel real.
When I retouch portraits or product photos, my main goal isn’t to make someone look “airbrushed.” It’s to make the photo look naturally flawless, the kind that grabs attention but doesn’t scream “edited.”
In this ultimate guide, I’ll walk you through:
-
how wrinkle removal services actually work,
-
what makes them professional (and not overdone),
-
and how they can transform portraits, product images, and brand visuals.
Whether you’re a photographer, model, brand owner, or just someone who loves clean, high-quality visuals, this guide will show you exactly how to make every image smooth, natural, and camera-ready.
Wrinkle Removal Service Pricing
All prices are per image. Discounts available for bulk orders and long-term studio collaborations.
| Plan Name | Best For | What’s Included | Delivery Time | Price (Per Image) |
|---|---|---|---|---|
| Basic Skin Wrinkle Retouch | Personal portraits, selfies, LinkedIn headshots | – Light wrinkle and fine line removal – Under-eye and forehead smoothing – Minor tone correction – Natural skin texture preserved |
24 Hours | $3 – $5 |
| Advanced Skin Wrinkle Removal | Influencers, photographers, beauty brands | – Complete face wrinkle retouch – Eye bags, crow’s feet, and neck line correction – Gentle dodge & burn for natural lighting – Subtle color balance and contrast tuning |
24–36 Hours | $6 – $9 |
| Clothing Wrinkle Removal Service | Fashion brands, online boutiques, product photographers | – Removes wrinkles and folds from clothing – Enhances fabric texture and lighting – Maintains natural look (no over-smoothing) – Ideal for shirts, dresses, suits, fabrics |
24–48 Hours | $4 – $8 |
| High-End Editorial Retouching (Skin + Clothing) | Fashion magazines, bridal shoots, advertising agencies | – Full face & clothing wrinkle removal – Frequency separation + texture rebuilding – Lighting and shadow corrections – Background cleanup + tone matching |
48 Hours | $12 – $18 |
| E-Commerce Bulk Plan | Apparel brands, Amazon/eBay sellers, product studios | – Wrinkle removal for clothing & fabrics – Consistent tone and lighting – Batch editing (50+ images) – Free revision for first 5 images |
2–3 Days | From $2.50 per image |
| Corporate Portrait Package | Team headshots, real estate agents, business owners | – Wrinkle-free skin and clothing – Skin tone balancing – Background cleanup for uniform style |
24–48 Hours | $4 – $7 |
Add-On Editing Services
Boost your edits with quick add-ons, smoother skin, perfect colors, clean backgrounds, and high-res exports for a polished, professional finish.
| Add-On Service | Description | Price (Per Image) |
|---|---|---|
| ✨ Skin Retouching | Remove blemishes, acne, and uneven texture | +$2 |
| 👕 Clothing Color Correction | Adjust tones for fabric accuracy and richness | +$1.50 |
| 🧠 Background Cleanup | Remove or replace backgrounds seamlessly | +$3 |
| 🌤️ Shadow Enhancement | Add realistic natural or studio shadows | +$2 |
| 📸 High-Resolution Export | Deliver files ready for print or high-quality ads | +$1 |
Bulk & Partner Discounts
| Order Quantity | Discount Offered |
|---|---|
| 50–100 Images | 10% Off |
| 101–300 Images | 15% Off |
| 301+ Images | 20% Off + Priority Delivery |
Why Clients Love Our Wrinkle Removal Pricing
-
Affordable and transparent — no hidden fees
-
Natural-looking results (no “plastic” effect)
-
Expert editors specialized in skin & fabric retouching
-
Fast turnaround with consistent quality
How a Professional Wrinkle Removal Service Works

Whenever I work on portraits or product photos, wrinkle removal is one of those quiet heroes behind a flawless result. It’s not just about erasing creases, it’s about understanding the light, texture, and tone of an image before making a single edit.
Let me walk you through the exact process my team and I use.
Step 1 – Image Analysis & Preparation
Every wrinkle tells a story, some are from real age and expression, others are just shadows pretending to be wrinkles. The first step is figuring out which is which.
When I open a photo, I spend a few minutes studying the:
-
Lighting direction and intensity: are those lines from harsh studio light or natural shadows?
-
Skin tone and texture: this helps decide how much smoothing is safe.
-
Fabric material (if it’s a product image): silk, cotton, and denim each react differently to edits.
Once I know what I’m working with, I set up non-destructive layers in Photoshop or Lightroom. This means I can edit freely without touching the original image. Think of it as putting a safety net under your creative work.
Step 2 – Removing Skin Wrinkles
Now the real artistry begins.
I start with the Healing Brush and Clone Stamp Tool to correct small imperfections and gently blend skin tones. Then comes my favorite, frequency separation, which lets me treat texture and color separately.
-
The high-frequency layer handles skin pores and fine details.
-
The low-frequency layer handles color and tone transitions.
By separating them, I can smooth wrinkles without that plastic, overly-blurred effect.
I remember working on a studio portrait once, the client’s forehead wrinkles looked ten times deeper under the bright lights. Instead of blurring them out (which would have looked unnatural), I used subtle dodge and burn to lift the shadows and even out the light. The result? The same person, same expression, just a touch more rested and radiant.
That’s the magic of professional wrinkle removal, it enhances, not erases.
Step 3 – Removing Fabric Wrinkles (For Product Photos)
Wrinkle removal isn’t just for skin, it’s a game-changer in fashion and e-commerce photography, too.
When you’re shooting apparel or textiles, even the smallest crease can make the fabric look cheap or poorly made. Using texture cloning and shadow correction, I remove garment wrinkles while keeping the fabric’s natural texture intact.
For example, cotton should still look soft and breathable, not like polished plastic. I often zoom in to 200% to make sure the weave pattern stays untouched while the distracting folds disappear.
This step is especially vital for catalog and online store photos, where a clean presentation can make the difference between a scroll-past and a sale. If you’d like to see how I handle fabric and clothing edits in detail, check out my full guide on wrinkle removal in product photos.
Step 4 – Tone, Color, and Texture Adjustment
Once the wrinkles are gone, it’s time to make the image feel cohesive again.
I adjust:
-
Hue & contrast to balance skin tones or fabric colors.
-
Midtones & highlights to restore natural lighting depth.
-
Micro-texture (added with fine noise or texture overlays) to bring realism back.
This step ensures the photo doesn’t look “too perfect.” A touch of texture makes the image more human — and more believable.
Step 5 – Final Retouch & Export
With everything looking natural and balanced, I finish with global color correction. This ensures the tones of the face, hair, clothes, or background all feel harmonized.
Finally, I export the image based on its purpose:
-
JPG – for web and social media (lightweight, easy to share).
-
PNG – for transparent backgrounds and web banners.
-
TIFF – for print or high-resolution projects.
Each format has its place, and using the right one keeps your images sharp, professional, and ready for any platform.
Types of Wrinkle Removal Services

Not every photo needs the same level of retouching. Sometimes, a quick touch-up does the trick. Other times, you need high-end editorial editing that brings out magazine-level polish. Here’s a look at the most common types of wrinkle removal services and when to use them.
1. Basic Wrinkle Retouching (Quick Fix)
Perfect for photographers, influencers, and small business owners who just want their portraits to look clean and confident.
-
Targets fine lines, under-eye wrinkles, and minor texture issues without over-editing.
-
Keeps a natural look, so you still look like you — just a well-rested version.
-
Commonly used for:
-
LinkedIn profile photos
-
Company website portraits
-
Social media images and dating profiles
-
Example: I once worked on a client’s business headshot where the lighting exaggerated forehead lines. A quick fix with frequency separation and soft dodge & burn completely changed the tone — from tired to confident — without making the image look fake.
2. High-End Wrinkle Removal (Editorial & Beauty Grade)
This is where precision meets artistry. High-end wrinkle removal goes beyond smoothing skin — it restores texture, refines tone, and enhances natural depth.
-
Used for fashion editorials, model portfolios, bridal portraits, and luxury product shoots.
-
Removes wrinkles not only from skin but also fabric and clothing in fashion photography.
-
Each pixel is retouched manually to maintain natural pores, fabric texture, and shadow flow.
Key techniques include:
-
Frequency Separation for separating tone and texture
-
Micro Dodge & Burn for sculpting light
-
Texture Rebuilding to avoid plastic-looking results
Example: During a fashion shoot for an online boutique, I had to remove wrinkles from both the model’s outfit and her neckline area. Instead of blurring, I rebuilt the texture layer pixel by pixel — and the result looked perfectly realistic in print.
3. AI-Assisted vs. Manual Wrinkle Removal
AI photo tools are getting smarter, but they still can’t beat human eyes — at least not yet.
| Feature | AI Wrinkle Removal | Manual Wrinkle Retouching |
|---|---|---|
| Speed | Fast (bulk edits in seconds) | Slower, detailed precision |
| Cost | Budget-friendly | Premium service |
| Texture Preservation | Often lost or blurred | Fully preserved |
| Best For | Quick e-commerce or preview images | Professional portraits, editorials |
AI tools like Luminar, RetouchMe, and FaceApp Pro can give an instant preview, which is great for testing ideas. But for high-end work, where every highlight, shadow, and pore matters, manual retouching wins every time.
If you’re curious how AI and manual editing techniques compare in fashion or apparel photography, take a look at this detailed guide on how to remove wrinkles from clothes photos, it breaks down step-by-step how pros keep fabric smooth yet natural.
Common Mistakes to Avoid in Wrinkle Removal

Even skilled editors can overdo it. Wrinkle removal should enhance, not erase, character. Here are some mistakes I’ve seen — and how to avoid them.
Over-Smoothing the Skin
This is the #1 giveaway of amateur retouching.
-
When you remove too much texture, the skin starts looking like melted plastic.
-
Instead, use low-opacity brushes and soft cloning to retain pores and realistic lighting.
Fix: Always zoom out periodically. If the skin looks flawless even from afar, you’ve gone too far.
Removing Every Natural Line
Wrinkles are part of expression — not every line is a flaw.
-
Erasing all facial lines makes people look unnatural or flat.
-
Keep soft smile lines and gentle eye creases to preserve personality.
Fix: Use dodge & burn instead of blur to lift harsh shadows without deleting detail.
Ignoring Lighting Consistency
Sometimes, wrinkles are caused by harsh shadows, not actual skin texture.
-
If you smooth wrinkles but forget to fix lighting, the photo still feels uneven.
-
Adjust exposure and highlights first, then retouch.
Fix: Even out the light before doing any skin work, it saves half the effort later.
Skipping Color and Tone Correction
After wrinkle removal, the skin may look dull or uneven in color.
-
Always fine-tune hue, saturation, and midtone contrast for a cohesive look.
-
Slightly warm tones (around 5200K–5600K) make portraits look lively and healthy.
Pro tip: Use the Curves adjustment layer to add gentle contrast and bring back vibrancy.
Tools & Software I Use for Wrinkle Removal

Every retouching project demands precision, and that comes from using the right tools. Here are my go-to programs and how I use them to deliver flawless yet realistic results:
Adobe Photoshop, The Industry Standard
-
Best for manual wrinkle removal with tools like:
-
Healing Brush Tool – for quick skin corrections.
-
Clone Stamp Tool – for rebuilding natural texture.
-
Frequency Separation – to separate tone and texture layers for perfect balance.
-
-
I use Photoshop for 90% of all wrinkle removal work because it gives me pixel-level control.
Lightroom — The Finishing Touch
-
Ideal for color correction, tone matching, and final polish.
-
Adjusts warmth, shadows, and highlights to ensure even lighting.
-
Perfect for batch-editing multiple portraits with consistent results.
AI Tools — Fast Previews & Batch Jobs
Sometimes I use tools like Luminar AI, RetouchMe, or PortraitPro to speed up large projects.
-
They’re great for bulk preview edits or first-round touch-ups.
-
But I always refine the results manually to keep a natural finish.
H2: Why Hire a Professional Wrinkle Removal Service
Sure, you can smooth out wrinkles with a few Photoshop tools. But if you’ve ever spent hours tweaking tiny areas, you already know how time-consuming and tricky it can be to get natural, professional results. That’s where a dedicated wrinkle removal service makes all the difference.
1. Save Hours of Editing Time
Professional editors are trained to spot issues instantly — from uneven tones to lighting flaws.
-
Instead of spending hours adjusting layers, brushes, and masks, you get ready-to-use, high-quality images in no time.
-
This means you can focus on shooting, branding, or running your business, while experts handle the fine details.
2. Consistency Across All Your Photos
When you work with a team that understands lighting, tone, and texture, you get uniform quality across every image.
-
Whether it’s 10 headshots or 500 e-commerce photos, your brand visuals stay clean and cohesive.
3. Realism That AI Tools Can’t Match
AI filters might blur wrinkles, but they often remove texture and depth too — leaving that “airbrushed” look.
-
Professionals use advanced methods like frequency separation and dodge & burn to retain authentic skin texture.
-
The result: smooth, natural, and believable portraits that still look human, not plastic.
4. Better ROI for Your Business Visuals
High-quality, retouched photos attract attention, boost trust, and increase conversions — whether you’re selling fashion, real estate, or personal branding services.
-
Crisp, professional photos stand out instantly on social media, product listings, and ad campaigns.
Wrinkle Removal + Other Editing Add-Ons
If you’re aiming for a complete visual upgrade, wrinkle removal works best when paired with other high-end retouching services. Together, they transform ordinary images into stunning, market-ready visuals.
Combine Wrinkle Removal With:
-
Skin Retouching: Smooth out blemishes, redness, or uneven tones while keeping a natural finish.
-
Color Correction: Ensure accurate, vibrant hues across skin tones, clothing, and backgrounds.
-
Background Clean-Up: Remove distractions, dust, or unwanted textures for a cleaner composition.
-
Shadow Enhancement: Add subtle depth and realism so the image feels dimensional and true-to-life.
Final Thoughts
At the end of the day, wrinkle removal isn’t about chasing perfection — it’s about refinement and confidence. A few careful edits can turn a good photo into one that looks polished, trustworthy, and full of life.
Whether you’re a photographer perfecting your portfolio, a brand preparing for a new product launch, or simply someone who wants to look their best online — subtle wrinkle removal can make your photos shine.
Top 10 FAQs About Wrinkle Removal Service
1. What is a wrinkle removal service?
A wrinkle removal service is a professional photo retouching process that softens or removes wrinkles, fine lines, and folds from skin or fabric — while keeping textures natural and realistic.
2. Does wrinkle removal make photos look fake?
Not at all! When done correctly, it enhances your photo’s quality without losing natural texture or expression. The goal is polish, not perfection.
3. Can you remove wrinkles from both skin and clothes?
Yes! Our service covers both — we remove facial wrinkles, under-eye lines, and also fabric creases from fashion or product photos.
4. Which tools are used for wrinkle removal?
We mainly use Adobe Photoshop, Lightroom, and sometimes AI tools like Luminar AI. Manual retouching ensures realistic and professional results.
5. Is this service suitable for e-commerce photos?
Absolutely. Wrinkle-free clothing and clear, bright models make your products look professional and trustworthy — perfect for online stores and catalogs.
6. How long does wrinkle removal take?
Depending on image complexity, it can take anywhere from 30 minutes to a few hours per photo. Batch projects are usually delivered within 24–48 hours.
7. Will my photos lose quality after editing?
No. We work non-destructively, keeping original resolution and clarity intact. You’ll receive high-quality, ready-to-use files for print or digital use.
8. Can I request natural-looking edits only?
Of course! You can choose your preferred level of retouching — from subtle, realistic touch-ups to high-end editorial editing.
9. Do you use AI for wrinkle removal?
We use AI only for quick previews or bulk processing. The final touch is always manual to maintain detail and texture.
10. How can I order a wrinkle removal service?
Simply upload your photos, mention your editing preferences, and we’ll take care of the rest. You’ll get perfectly retouched, wrinkle-free images — fast and flawless.