I still remember my first Photoshop experiment back in college, a cramped dorm, instant coffee, and a cheap mouse. I tried to “create art” and ended up liquifying my roommate’s face so badly he looked like a Picasso original.
Fast forward to today: I’m a full-time photo editor who’s spent more nights with Photoshop than with sleep. I’ve tested every filter, action, and adjustment, usually right before it crashes and reminds me to save more often.
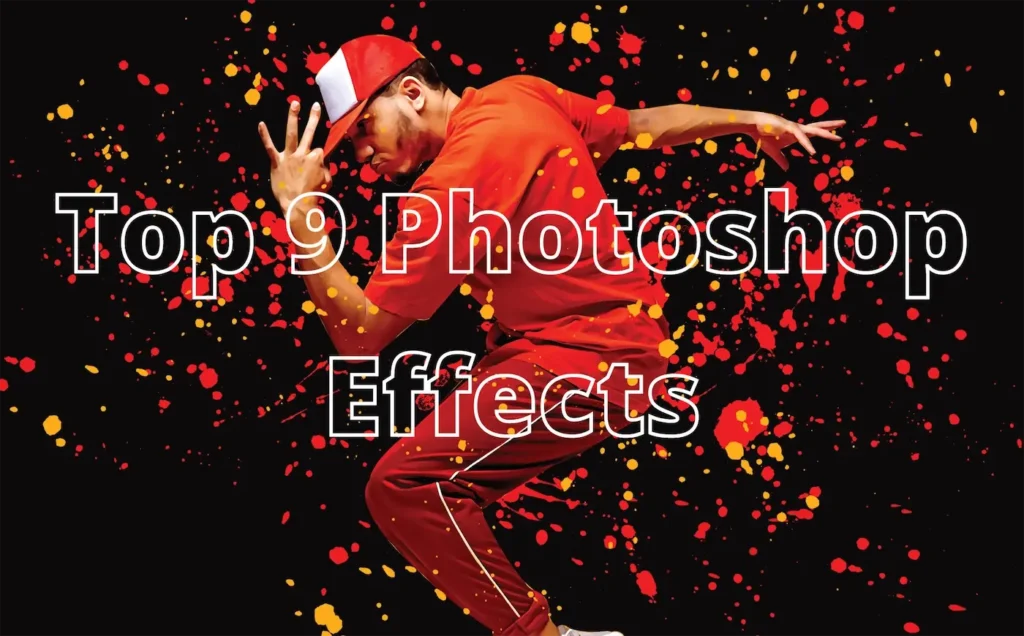
In this post, I’m sharing my favorite creative Photoshop effects that are fun, futuristic, and worth trying. Think of this as a cozy chat in my studio, surrounded by glowing monitors and the smell of fresh prints.
Let’s dive in.
Why Effects Matter More Than Ever
First, why should you care about trying new Photoshop effects? Photography and design trends evolve quickly. The Adobe Creative Trends report for 2026 notes that consumers crave fantastical visuals and immersive experiences; generative AI has empowered creatives to produce surreal imagery that blends reality and imagination.
Design movements like Fantastic Frontiers, dreamlike visuals that blur human and cosmic elements, and Levity and Laughter, playful, humorous visuals with bright colors and cartoonish elements, are shaping the way we design ads, websites and social content.
That means our old habits of subtle adjustments and plain backgrounds might not stand out anymore. To grab attention, you’ll need to combine technical skill with imaginative storytelling, and if you want that polished, magazine-quality finish, check out my High-End Retouching Service for pro-level results that make your visuals shine.
1. Glitch and Halftone textures (embrace the chaos)

If you spent the early 2000s watching VHS tapes and playing Nintendo, you’ll appreciate the glitch effect. This style replicates the static, distortion and pixelation of broken screens.
Envato’s trends report explains that glitch aesthetics create a chaotic, Y2K vibe, featuring distorted visuals and pixelated images.
It’s a great way to evoke nostalgia or communicate an edgy vibe for a brand. I once used a glitch overlay on a tech brand’s product shot, think neon lights, chromatic aberration and digital noise.
The client loved it because it looked like their device was glitching into the future. Just don’t overdo it. I’ve learned that too much distortion can make product details unreadable.
When I turned my friend’s wedding photo into glitch art as a joke, his grandmother asked why their faces “looked like TV static.” Lesson learned: use glitch selectively.
To create your own glitch effect:
-
Duplicate your photo layer.
-
Use the Wave or Displace filter to offset the duplicate horizontally or vertically.
-
Add colored channel shifts by selecting the Red, Green or Blue channels and nudging them slightly.
-
Finish with a noise layer and a gradient map to match your brand colors.
Halftone patterns pair beautifully with glitches. A halftone texture mimics risograph or screen‑printed prints by converting smooth gradients into dots and grain.
It adds a retro print feel, and when combined with vibrant colors, it’s instantly eye‑catching. Try combining halftone overlays with glitch lines for a modern twist. Just remember to work on a smart object so you can adjust size and intensity easily.
2. Double exposure (storytelling through layering)

Double exposure is one of those magical effects that never gets old. At its core, it combines two exposures into one image, blending them at less than full opacity.
Historically, photographers achieved this by exposing the same piece of film twice; in the late 19th century it was considered one of the first special effects.
The technique is still popular because it allows you to tell a story through juxtaposition. A portrait fused with a landscape can represent someone’s identity, dreams or environment. Imagine a model’s profile overlaid with blooming flowers to symbolize growth.
Personally, I discovered double exposure by mistake. I was photographing a band’s album cover, and in my rush I accidentally overlaid two photos in-camera.
The result? A guitarist’s face blended with neon city lights. It was a happy accident that the band loved, and it sent me down a rabbit hole of double exposure experimentation.
I’ve since used it on product shots (for example, overlaying a running shoe with a mountain trail) to evoke endurance.
You can achieve double exposure manually by stacking layers and using layer masks. Alternatively, explore ready‑made actions. Envato sells a Double Exposure Action that runs through a series of steps and prompts you to place your second image.
Use portraits with strong silhouettes and landscapes or textures with contrasting tonality. My tip: set the blend mode of the second image to Screen or Lighten for luminous results.
If you want to take it further, try double color exposure, using two complementary colors for each exposure. Pick a duotone palette from a ColorBrewer scheme, then mask each color into separate parts of the image. The result looks like a neon dream.
3. Duotone and gradient maps (color that pops)

If you’ve scrolled through Spotify playlists or loud headphone ads lately, you’ve probably seen the duotone effect. It involves using two contrasting colors to tone highlights and shadows, creating dramatic, graphic images.
Envato’s article mentions that audio brand Loudhead adopted duotone extensively, and designers can achieve it using ready‑made kits like the Duotone Master Kit with 66 presets.
I find duotones perfect for social media and editorial spreads because they simplify a scene while amplifying mood. For example, tinting a denim jacket shoot with electric blue and burnt orange instantly made the photos feel fresh and trendy.
To create your own duotone:
-
Convert your image to black and white by desaturating it.
-
Add a Gradient Map adjustment layer.
-
Choose two colors that represent your brand or the emotion you want to convey—complementary colors like teal and pink work well.
-
Fine‑tune the midpoint to control how much of each color dominates shadows versus highlights.
If you’re feeling adventurous, blend multiple gradient maps and mask them to specific areas. I once used three gradients on a sports photo, blue on the highlights, orange in the midtones and purple in the shadows.
The result looked like an energy drink ad and made the athlete appear superhuman. Just be careful not to saturate everything; subtlety can be powerful.
4. Dispersion and fragmentation (dramatic motion)

Do you remember the first time you saw a superhero disintegrate into dust on screen? That’s the sensation the dispersion effect captures.
It shatters parts of your subject into particles, implying motion or transformation. Envato’s Dispersion Action lets you brush over the area you want to disperse and then press play.
I’ve used this effect to illustrate a model running so fast she seems to dissolve into speed lines. It’s also handy for sports equipment ads, where you can disperse a ball into confetti to symbolize victory.
Creating the effect manually requires a bit of patience. You duplicate your subject layer, apply a Liquify or Wind filter to distort it, then use custom particle brushes to mask away parts of the original.
Work non‑destructively: use layer masks rather than erasers so you can refine edges later. For extra realism, vary brush size and opacity.
When I first tried dispersion on my friend’s headshot, I accidentally painted over his entire face and ended up with a faceless ghost. Take it slow and back up often!
5. Text masking and cutouts (type that tells a story)

When I designed a poster for a music festival, I masked a crowd photo inside the word “LOUD.” The letters appeared as windows showing fans waving their hands, and the bright stage lights shone through the gaps.
The promoter said it captured the festival’s vibe better than any stock photo could.
Try using thick fonts like Impact or Bebas Neue, convert your type to a selection, then paste your image inside a layer group clipped to that selection. Add a subtle drop shadow or stroke to make the text stand out.
Cutouts, on the other hand, involve manually selecting parts of an image and combining them with other images or colored shapes. You can use the Pen Tool or Select Subject and refine the edge.
This technique is perfect for collages or digital scrapbooks. I created a surreal composition of a model walking out of a polaroid frame with city buildings cut out in the background.
It looked like she was stepping into another dimension—great for marketing travel gear.
6. Motion blur and rain (dynamic atmospheres)

Adding motion blur and weather effects can transform a static image into a scene full of energy. The Rain Photoshop Action from Envato simulates realistic rain with adjustable direction and presets.
I used it on a trench coat product shot to create a mood of mystery and romance, and the client said the image felt “like a scene from a noir film.”
If you don’t have the action, you can create rain by making a new layer, filling it with black, adding noise, motion blurring it, and then setting the blend mode to Screen.
Motion blur conveys speed and movement. For example, to make a cyclist appear faster, duplicate your subject onto a new layer, apply a Motion Blur filter in the direction of travel, and reduce the layer’s opacity.
Mask away parts of the blur that cover the face or branding. I’ve also applied subtle radial blur to backgrounds behind models to emphasize them and draw attention to their pose.
7. Magic effects and neon glows (surreal drama)

Want to conjure some literal magic? There are actions for that. The Magic Photoshop Action lets you paint over an area with a brush and then generate sparkling particles, smoke and beams of light.
It’s perfect for promotional materials in gaming, fantasy books or children’s toys. I used it on a fashion editorial to give the impression that the dress was transforming into stardust. Each time you run the action, the result is slightly different, keeping things fresh.
Neon glows are another way to add drama. Create them by using the Outer Glow layer style or by duplicating your subject, adding a Gaussian blur and colorizing it with a Hue/Saturation adjustment.
Combine glows with colored shadows or reflective surfaces to mimic the look of cyberpunk movies. I once placed neon lights behind a model to create a silhouette effect; the vibrant magenta and teal gradients looked straight out of a futuristic club.
8. Blueprint and line‑art (technical chic)

Have you ever wanted your product photos to look like they belong in an engineering textbook? The Fibrum Line Art Action from Envato generates blueprint‑style line art with color and frame presets. It can add a high‑tech or minimalist aesthetic to furniture, electronics or clothing.
I’ve used it to show off the construction of a pair of sneakers, the sole, upper and laces appeared as dotted lines. It’s also a fun way to layer technical diagrams over portraits to suggest innovation or a “schematic of the soul.”
You can create your own blueprint effect by converting your image to grayscale, adding a photographic negative (Invert), then applying a Find Edges filter.
Lower the opacity and overlay a blue solid layer with low opacity to mimic blueprint paper. Add labels or arrows for extra detail.
9. AI‑powered filters (letting the robots help)

Many other AI tools (which I’ll cover in depth in the next article) have specialized filters for skin smoothing, background replacement and stylization.
Use AI as a starting point, then refine the result manually. Remember: the goal is to tell your story, not to hand control entirely to the machine.
Wrapping up
Trying new Photoshop effects isn’t just about making pretty pictures; it’s about conveying stories, emotions and brand identity in a rapidly evolving visual landscape.
By experimenting with glitch textures, double exposures, duotones, dispersion, text masking, motion blur, magic effects, blueprint styles and AI filters, you can keep your work fresh and relevant.
Don’t worry if your first attempts look like a digital disaster. Part of the fun is embracing mistakes and turning them into creative breakthroughs. I still have that glitchy wedding photo framed on my desk to remind me that accidents often lead to art.
What effect are you most excited to try in 2025? Have you had a Photoshop disaster that turned into a masterpiece? Let me know in the comments, I’d love to hear your stories and continue nerding out over layers and masks together.