Without a doubt, Adobe Photoshop is the best when it comes to accuracy and grace in image editing. Making a clipping path in Photoshop is one of the most important Photoshop methods to learn. Choosing the right tool for a clipping path can significantly improve your work, regardless of whether you’re a professional graphic designer or a beginner photographer. We’ll go over the top Photoshop tools for making clipping paths in this post, and you may select the one that works best for you.
The Pen Tool

The Pen Tool is the go-to choice for many Photoshop experts when it comes to creating precise clipping paths. It allows you to manually draw paths around the subject or object you want to isolate from the background. Here’s how you can use it:
a. Select the Pen Tool from the toolbar.
b. Click on the outline of the object you want to clip to create anchor points.
c. Connect the anchor points to create a path.
d. Right-click and choose “Make Selection” to turn the path into a selection.
The Pen Tool provides unparalleled accuracy, especially for complex shapes and fine details. It may take some practice to master, but it’s worth the effort for professional results.
Magic Wand Tool

The Magic Wand Tool is a handy option for creating clipping paths, especially when you have a subject with well-defined edges and a relatively uniform background. Follow these steps:
a. Select the Magic Wand Tool from the toolbar.
b. Click on the background you want to remove.
c. Adjust the Tolerance setting to fine-tune the selection.
d. Click “Delete” to remove the selected background.
While the Magic Wand Tool is useful for simple clipping tasks, it might struggle with complex or busy backgrounds. It’s essential to ensure that the background color is consistent and the subject has clear edges for the best results.
Quick Selection Tool

The Quick Selection Tool is excellent for creating clipping paths on subjects with more defined edges and some complexity. It employs a brush-like interface to select and isolate areas quickly:
a. Select the Quick Selection Tool from the toolbar.
b. Click and drag over the subject to create a selection.
c. Refine your selection using the “Refine Edge” option.
The Quick Selection Tool is great for saving time while maintaining good accuracy. However, it may require some manual adjustments, especially for intricate objects.
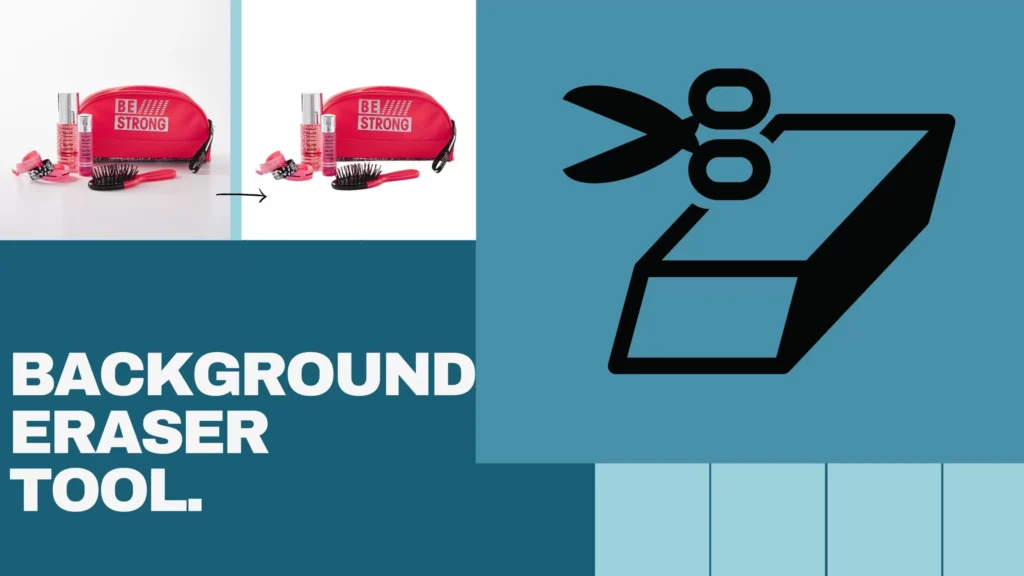
Background Eraser Tool

The Background Eraser Tool is designed specifically for removing backgrounds. It can be a time-saver when you have a subject with clear edges against a relatively uniform background:
a. Select the Background Eraser Tool from the toolbar.
b. Click and drag over the background areas to be removed.
The Background Eraser Tool automatically removes the background while preserving the subject. However, it may not work well for subjects with complex or similar colors to the background.
Choosing the Right Tool For Clipping Path

In the end, which is best for you will depend a great deal on what your project demands of it: from our examination of these two capable clipping path tools in Photoshop. The Pen Tool — for when precision and control are key. The Magic Wand Tool, Quick Selection Tool and Background Eraser tool will be of benefit for easier tasks.
Often the best approach is to use both of these tools in concert. Use one to build the preliminary selection and then perfect it with another. That said, feel free to play around with the different types and practice as needed in order find out what workflow will suit you best for your own projects.
Conclusion
Anyone dealing with photos in Photoshop needs to know how to create a clipping path. The ideal tool to use will rely on the background and subject difficulty. With less complex topics, you can save time and effort by using the Magic Wand, Quick Selection, and Background Eraser tools instead of the Pen tool, which has the best precision.


