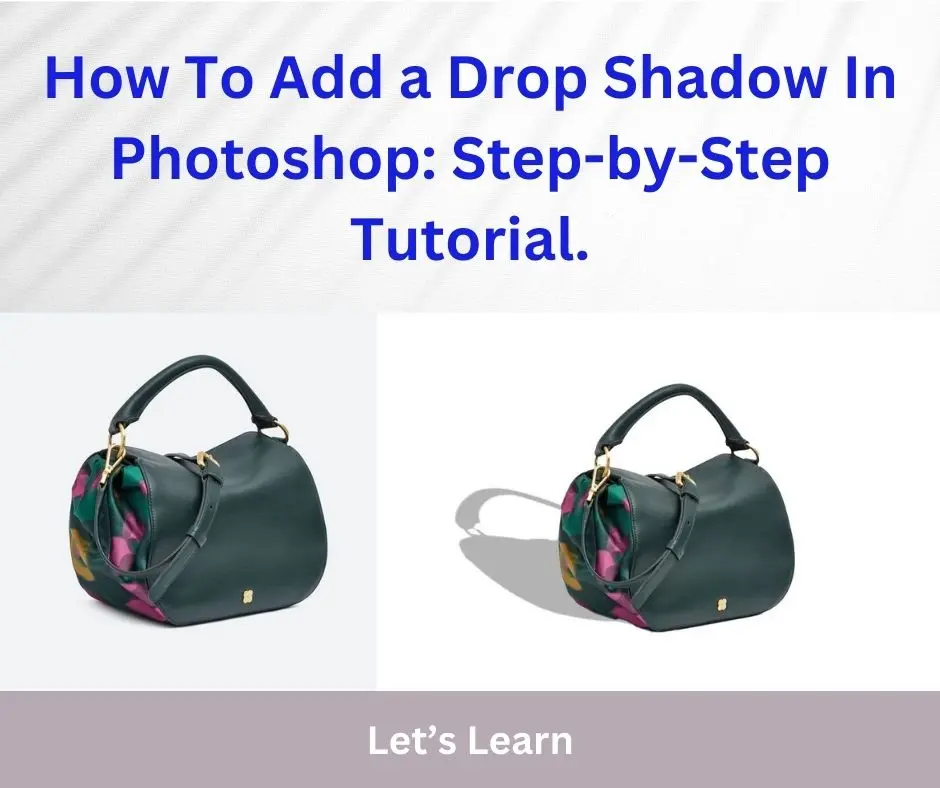
How To Add A Drop Shadow In Photoshop: A step by step tutorial.
Table of Contents
In today’s tutorial, we are going to cover how you can add a drop shadow in Photoshop and make the layers look real. A drop shadow effect board will help your graphics or product photos stand out. You may set the shadow to be more or less intense, have a further range, and make it appear softer by adjusting opacity, distance, and blur. This does more than just copy having the temple on screen again; it directs your viewer’s attention to the important parts and creates depth. Consider the drop shadow as your virtual paintbrush for creating a polished, appealing appearance. You can see that little things turn a simple image into an elegant design which catches the eyes and makes your visual creations more engaging.
Why You Should Use Drop Shadow Service?
To be frank, speaking, drop shadow service will bring a new look to your product photography. You will love your product even more after using the drop shadow effect service. You will kick yourself for not having used drop shadow earlier, it is that powerful. Once you learn to add a drop shadow in Photoshop, it becomes easier for You can apply this adding of photoshop drop shadows onto your images with ease. Not only does the drop shadow effect make sense, it also has an aura of quality and attention to detail.
Its versatility allows it to work on various styles of design, from modern minimalism all the way back to vintage aesthetics. With a few small adjustments to transparency, scale and direction of the effect technology you can free-form your creativity while keeping it readable. The use of drop shadows should be consistent across digital and print materials to ensure a unified brand identity. This unique effect is a powerful tool that can elevate the design visually impress your audience and turn ordinary images into solid designs.
10 Easy Steps To Add Drop Shadow In Photoshop:
Add shadow to the image easily by Learn how to add a Drop Shadow with several easy ones in Photoshop.
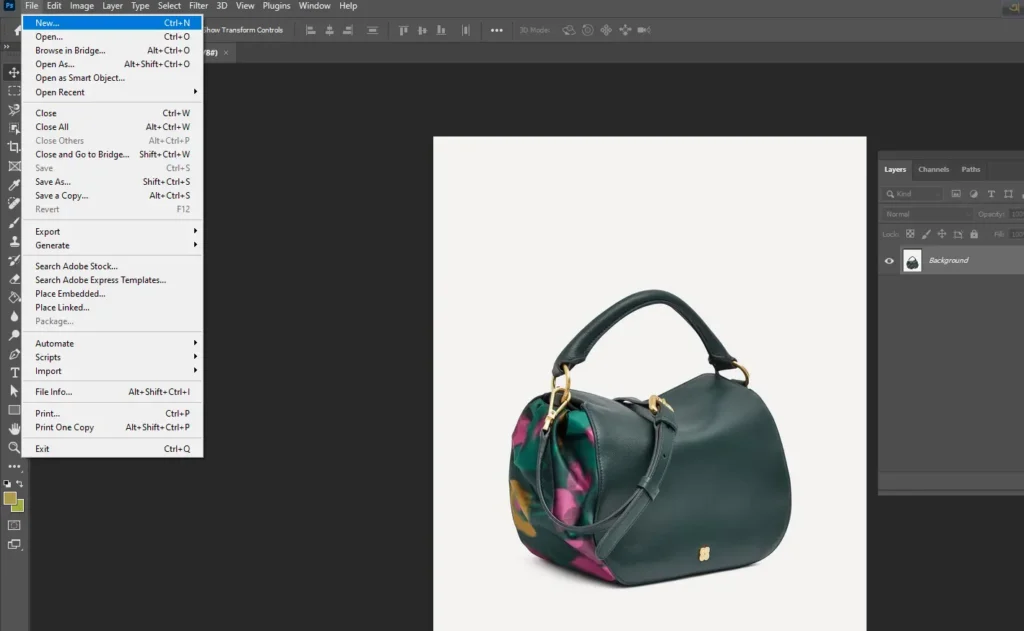
Step 1: Open Your Canvas
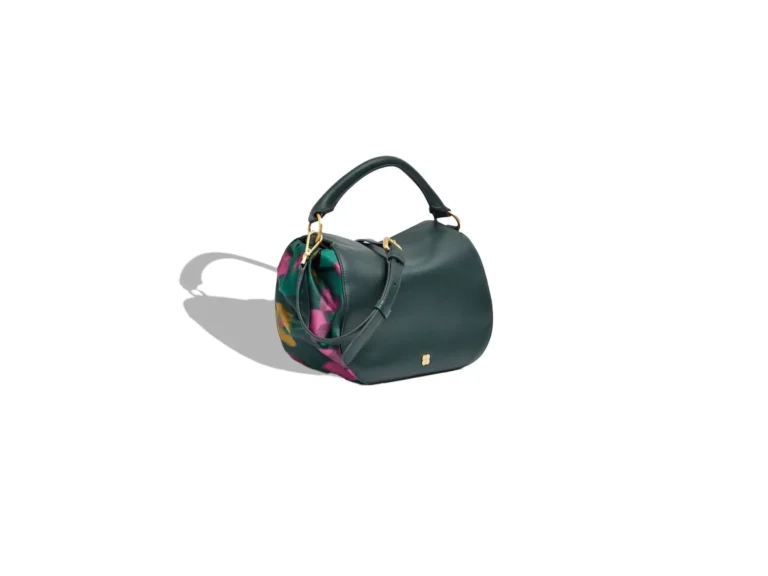
Start by opening your Photoshop software, and taking an image.
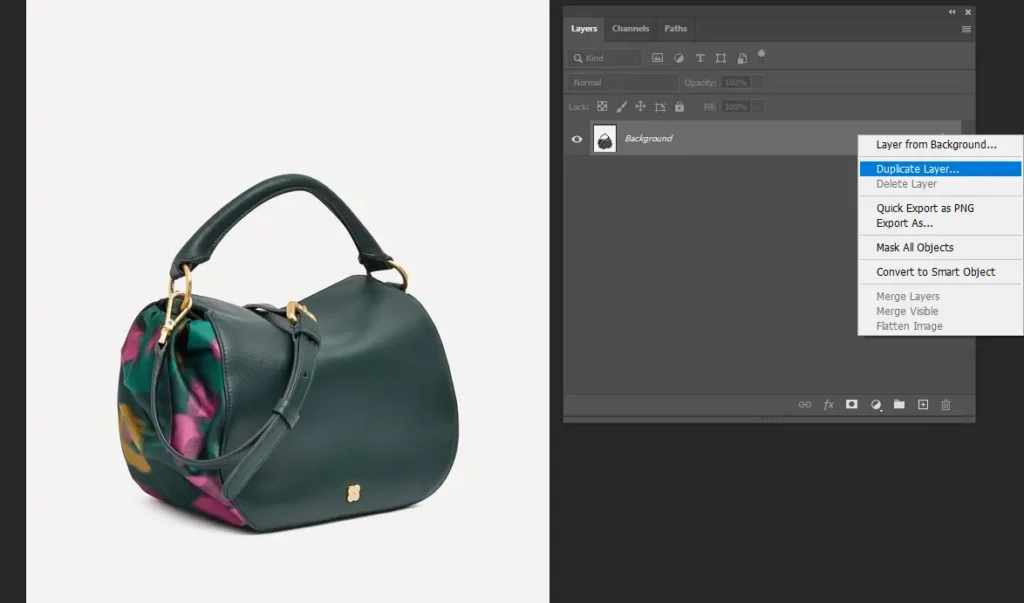
Step 2: Duplicate Your Layer
Right-click on your image layer in the layers panel and duplicate it. Safety first – we’re working on a copy to keep things neat.
Step 3: Create a New Layer
Now, create a fresh layer. This will be your canvas for the drop shadow magic, keeping things organized and editable.
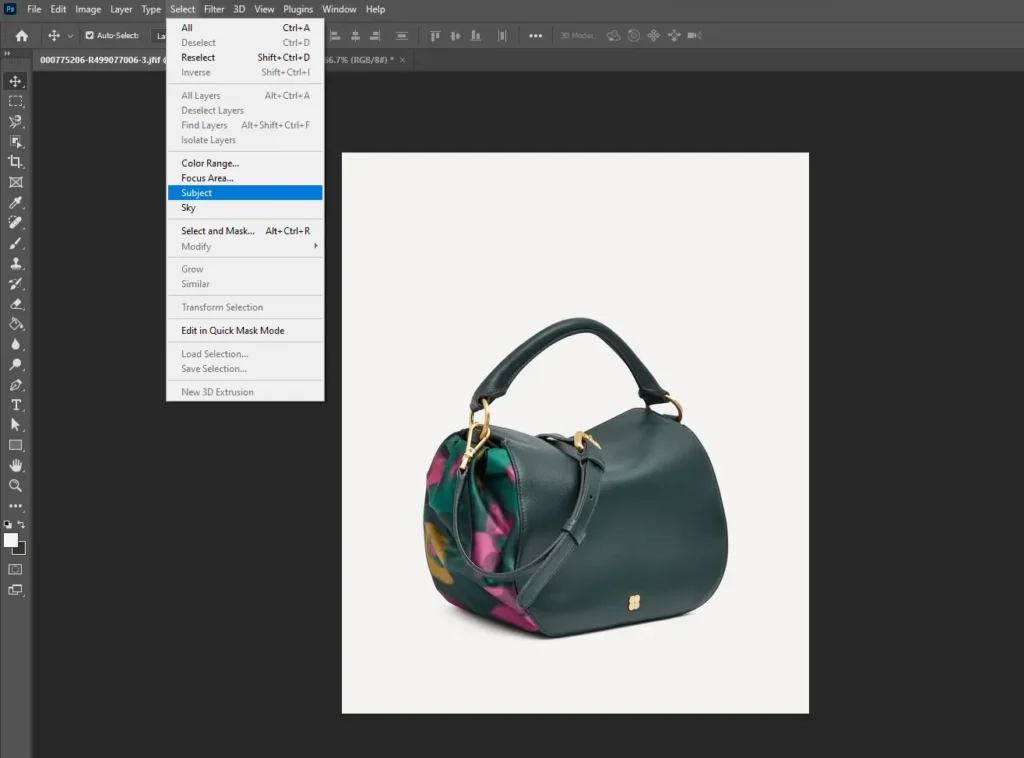
Step 4: Select The Subject And Move To Your Canvas.
Select your subject, and after selecting move the subject by the ‘move’ tool. Move to the canvas.
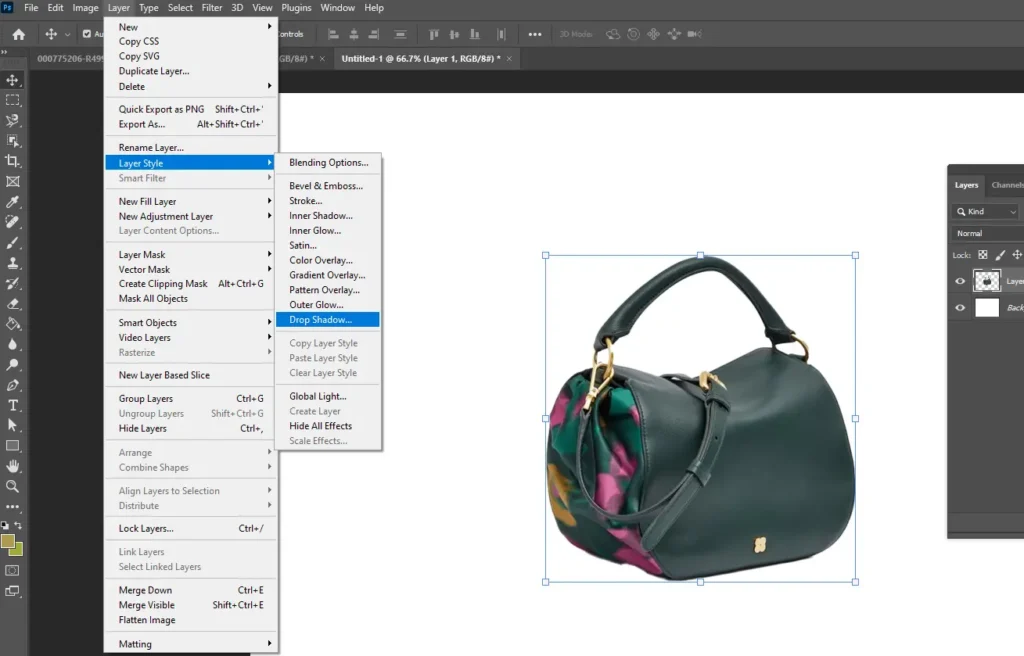
Step 5: Apply the Drop Shadow
Select your new layer, go to “Layer,” then “Layer Style,” and hit “Drop Shadow.” This is where the magic happens. A dialog box will pop up with various settings to tweak.
Opacity: Adjust the opacity to control the intensity of the shadow. Lower values for subtlety, higher for a more pronounced effect.
Angle: Set the angle based on the light source in your image. This ensures the shadow falls naturally.
Distance: Play with the distance to determine how far you want the shadow to extend from the object.
Spread: Increase the spread for a softer transition between the shadow and the object.
Size: Increase the size for a more diffused and realistic shadow.
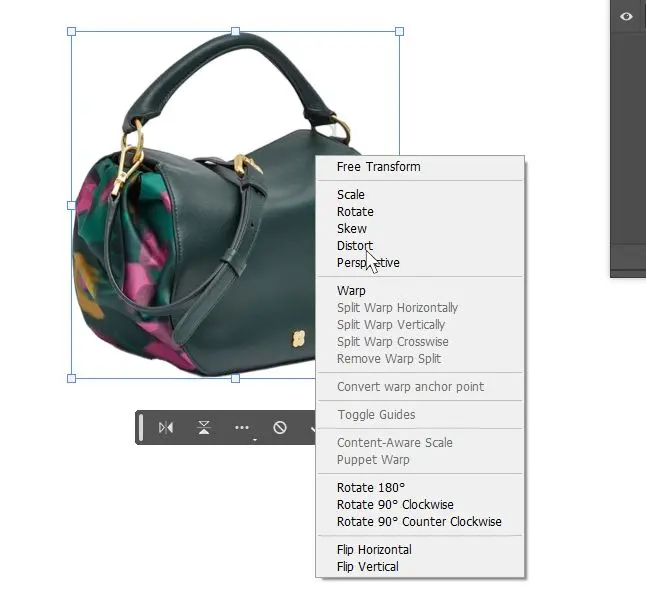
Step 6: Adjust Your Shadow
Click right, and you will get an option list. click ‘distort’. it will help you to adjust the shadow perfectly
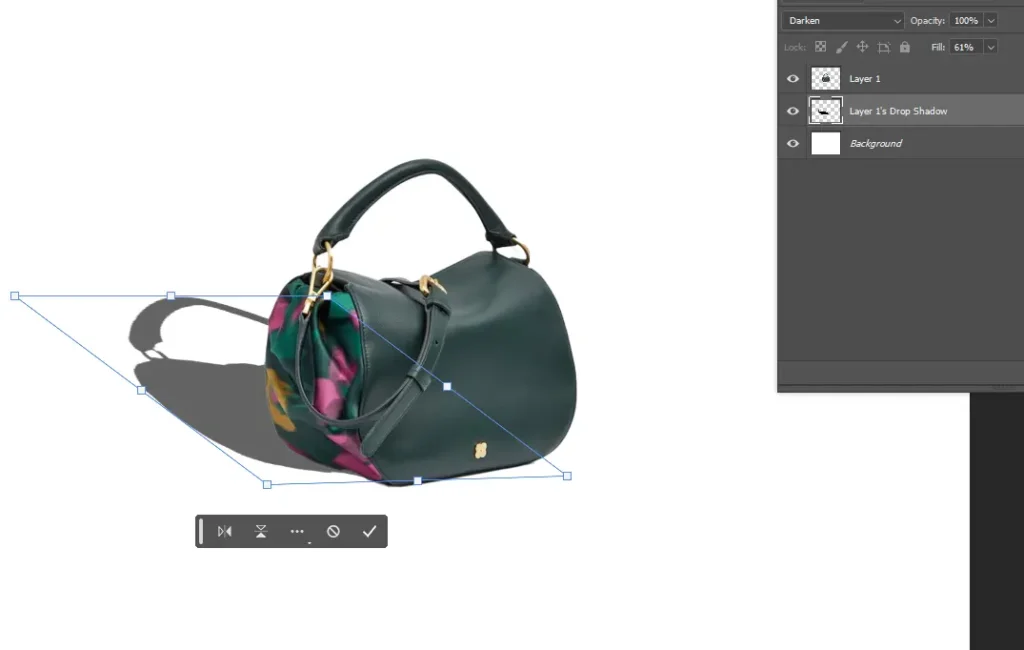
Step 7: Shadow Positioning
Grab the Move Tool (V) and adjust the position of your shadow layer. Imagine where the light is coming from in your image – that’s the direction you want your shadow to fall.
Step 8: Experiment with Opacity
Play with the opacity slider in the Drop Shadow settings. It’s like adjusting the volume – find the sweet spot where your shadow is noticeable but not stealing the show.
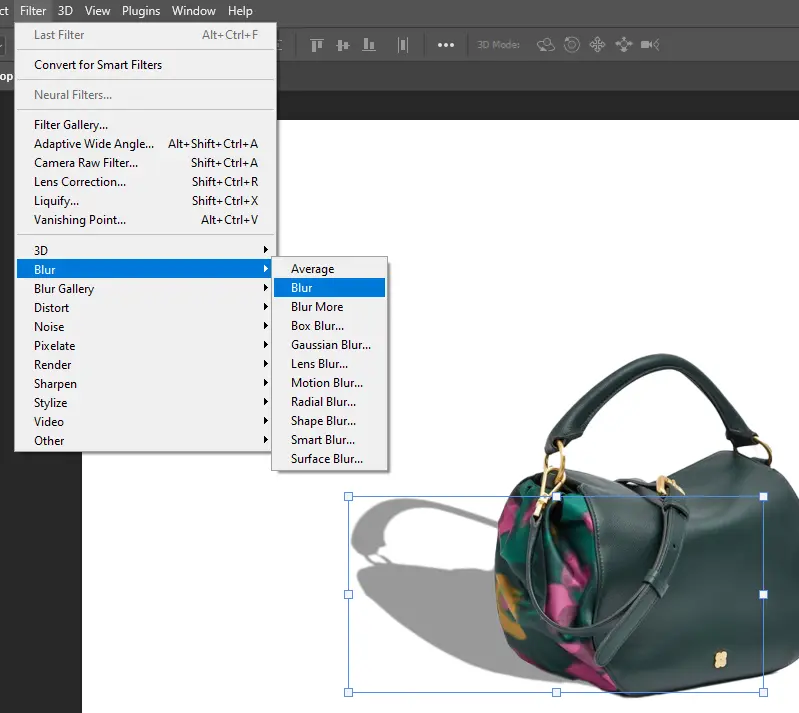
Step 9: Soften the Edges, And Blur The Shadow
To make it look more natural, consider increasing the shadow’s size. This softens the edges, from ‘Filter’ choose the ‘blur option’ this gives a blurry effect on your shadow.
Step 10: Save Your Masterpiece
Once you’re thrilled with your drop shadow, save your image. Your photo or design is ready now. From today you don’t have to search how to add drop shadow in Photoshop.
5 Tips You will love it!
Natural Lighting: Match the shadow direction with the light source in your photo for a realistic effect.
Subtle Shadows: Keep it understated; adjust opacity and size to avoid overwhelming your main element.
Background Harmony: Tailor the shadow color and opacity to complement the background for a seamless blend.
Consistency is Key: Maintain uniform shadow settings across elements for a polished and cohesive design.
Experiment and Adjust: Play around with angles, distances, and sizes to find the perfect shadow that enhances your design’s mood and impact.
5 Mistakes You Should Be Careful.
Overdoing it: Avoid overly intense shadows; subtlety is key.
Ignoring Light Source: Match shadow direction with the photo’s lighting for realism.
Background Contrast: Adjust the shadow color to harmonize with the background.
Inconsistent Application: Keep shadow styles consistent for a professional look.
Neglecting Experimentation: Try different settings; don’t stick to one formula.