I still remember the first time I tried selling clothes online, I laid a shirt flat on my bed, snapped a photo with my phone, and proudly uploaded it.
Let’s just say… it looked more like a wrinkled napkin than something anyone would want to buy. That’s when I realized: presentation sells clothes just as much as style.
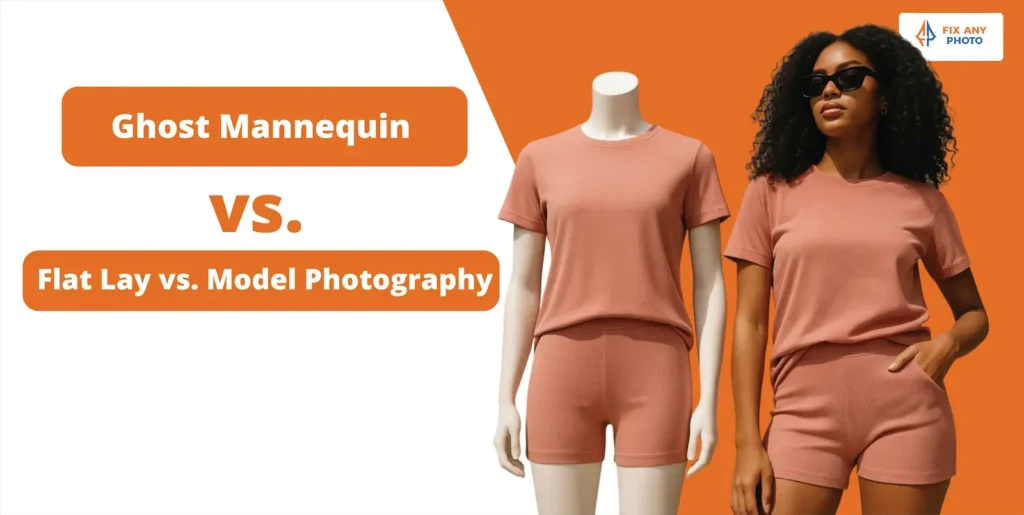
So, which photography style actually works best, ghost mannequin, flat lay, or model shots? The quick answer: it depends on what vibe you want.
Ghost mannequins highlight shape and fit, flat lays bring lifestyle aesthetics, and models sell the “dream” of wearing the clothes. Each one has its magic touch, and the right choice can boost sales more than you’d think.
By the end of this post, you’ll know exactly which method fits your brand. Spoiler: it might not be the one you’re using now! Ready to find your perfect match?
Let’s dive in.
Flat Lay Photography 101
Flat lay photography is the art of arranging items on a flat surface (often a white board or textured backdrop) and photographing them from above.
You’ve probably seen it on Instagram and Pinterest, beautifully styled outfits complete with accessories, sprigs of greenery, and a coffee cup for flair.
Flat lays shine when you want to tell a lifestyle story or showcase small accessories like jewelry and belts. They’re easy to set up and don’t require a mannequin or model.
In the beginning I used to throw everything on a white sheet and call it a day. Over time I learned that thoughtful composition is key. Think of your flat lay as a mini scene: each element should be there for a reason.
Need inspiration? Browse your favorite fashion magazines or scroll through Instagram hashtags like #flatlaystyle. Notice how the best shots have negative space, balanced colors, and a natural flow for the eyes.
After a few flat lay shoots I learned some quick tips:
Use props intentionally. A scarf draped just right or a well‑placed book adds context without stealing the show.
Keep lighting soft and even. Shadows can make your items look dingy. I use a large window and a reflector for my budget setup.
Think about the story. When I photograph a winter sweater, I’ll add a mug of cocoa and a pinecone; for beachwear, sunglasses and seashells set the scene.
Flat lays are ideal for social media and blog posts, but in my experience they’re less effective at selling apparel on product pages because they lack depth. Shoppers can’t see how the garment fits around curves or hangs on a body. That’s where ghost mannequin photos have the edge.
One way to make flat lays work harder is to incorporate them as secondary images. For example, your product page can feature a ghost mannequin shot as the primary image with a flat lay showing matching accessories in the gallery.
This adds lifestyle context without sacrificing clarity. Just be sure to keep the flat lay simple—customers are there to shop, not get lost in props.
Model Photography: Putting a Face to the Clothing
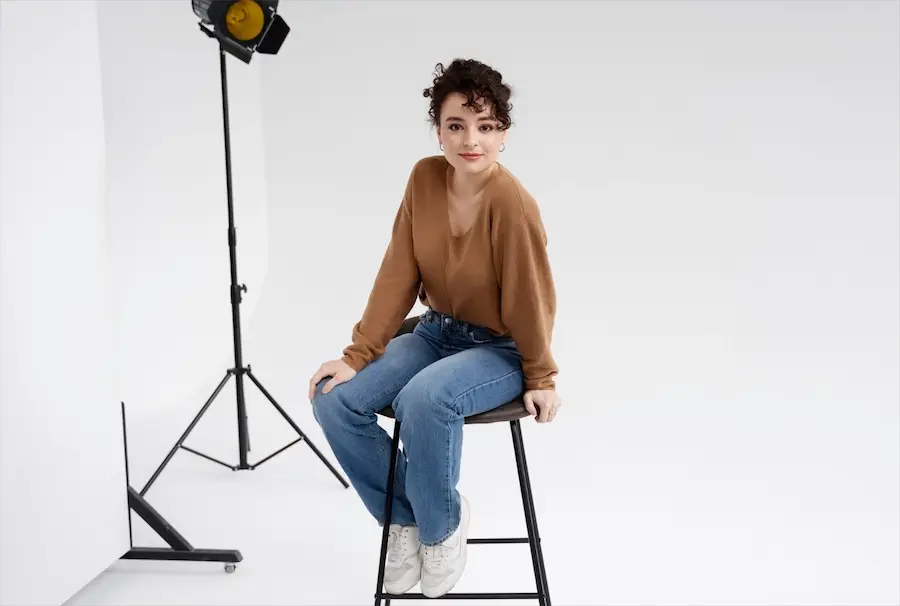
Model photography involves hiring real people to wear your clothing. This style showcases fit and movement better than any other method.
It lets customers imagine themselves wearing the piece, and it allows you to tap into storytelling and emotion. There’s a reason fashion magazines are full of models striking dynamic poses.
However, using models comes with drawbacks:
Cost. Paying models, makeup artists, and stylists can get pricey. Even a short shoot can add hundreds to your budget.
Inconsistency. Unless you book the same model every time, your images may lack uniformity. Different poses, body types, and facial expressions can distract from the product.
Potential distractions. I once shot a shirt on a friend who had a large tattoo. Shoppers kept asking where they could buy the tattoo—not exactly what I wanted.
Models work well for lifestyle marketing and lookbooks, but for product listings where the garment should be the star, ghost mannequin images often convert better.
When I did my first model shoot I made the mistake of letting the models choose their own outfits. It turned into a fashion free‑for‑all.
Some pieces were layered so creatively that you could barely see the item I was trying to sell. The lesson: always plan your outfits and shots ahead of time. Keep the focus on the hero garment and limit accessories to what enhances the story.
Ghost Mannequin vs. Flat Lay vs. Model Photography: A Comparative Look
To help you choose, here’s a quick comparison of each style based on critical factors:
| Aspect | Ghost Mannequin | Flat Lay | Model Photography |
|---|---|---|---|
| Realism & Fit | High – shows 3D shape | Low – clothing looks flat | Very high – shows movement and fit |
| Distraction Level | Low – no people or props | Medium – props may steal focus | High – model’s face/body may distract |
| Cost | Medium – requires editing time | Low – minimal gear | High – models and styling |
| Consistency | High – uniform look across products | High – background easily controlled | Low – poses and models vary |
| Versatility | Medium – best for structured garments | High – good for accessories and stories | Medium – great for lifestyle branding |
| SEO & Performance | High – optimized images load quickly | Medium – can include more items | Medium – large files and lifestyle backgrounds |
When to Choose Each Style
Ghost Mannequin: Use this for shirts, dresses, jackets, and pants where fit and structure matter. It strikes a balance between realism and minimalism. I reach for ghost mannequins for 80% of my catalog.
Flat Lay: Ideal for accessories and multi‑product bundles where you want to tell a lifestyle story. It’s also great for social media content and blog posts.
Model Shots: Save these for lookbooks, advertising campaigns, and when you want to show how the clothing looks on a real body. They’re powerful for building an emotional connection but not always necessary for a product grid.
Combining Styles Strategically
Who says you have to choose just one? Some of my best performing product pages mix styles. For example, I’ll use a ghost mannequin image as the main photo, followed by a flat lay showing matching accessories, and finish with a lifestyle shot on a model. This gives customers a complete picture: they see the garment’s fit, get styling ideas, and feel an emotional connection.
Planning a shoot like this requires organization:
Start with your ghost mannequin photos. This establishes the product’s fit and details.
Style a flat lay scene. Use complementary props to show how the piece fits into a larger outfit.
Add model shots last. Capture movement and emotion. Make sure the clothing is ironed and fits the model well.
Another tip is to think about SEO when you upload these images. Use descriptive file names (e.g., ghost‑mannequin‑red‑dress.jpg) and fill in your alt text with keywords like “red summer dress on invisible mannequin” or “blue shirt flat lay with accessories.” Properly labeled images improve accessibility and give search engines more context, which can help your products appear in Google Images and drive additional traffic.
Mixing styles keeps your catalog interesting and encourages shoppers to explore multiple images, increasing the time they spend on your site.
Real‑Life Experiences: Successes and Missteps
When I began experimenting with ghost mannequins, flat lays, and models, I learned some valuable lessons:
Ghost mannequin saves returns. A client of mine was getting a high return rate because customers thought the shirts were slim‑fitting. After switching to ghost mannequin photos that clearly showed the relaxed fit, returns dropped by 20%.
Flat lay props can backfire. In one shoot I included a fancy watch next to a casual hoodie. People kept asking whether the watch was for sale. I learned to keep props relevant and minimal.
Models need direction. During a summer campaign, I let a group of friends pose however they wanted. The result? Some clothes looked great, but others were pulled in awkward ways, making the fit look odd. Next time I gave clear posing instructions and got much better results.
Final Thoughts and Call to Action
So, which style sells clothes best? The answer is: it depends on your product, brand, and audience. Ghost mannequin photos strike a perfect balance between showing fit and eliminating distractions. Flat lays are creative and cost‑effective for accessories or Instagram‑friendly scenes.
Model shots inject personality and lifestyle into your brand. The most successful e‑commerce stores use a mix of all three to appeal to different shopper preferences.
If you’re not sure where to start, try a test. Shoot a product using ghost mannequin, flat lay, and model styles, then see which image gets the most engagement or sales. I guarantee the results will surprise you—and they’ll teach you more about your customers’ preferences than any blog post ever could.
Have you experimented with ghost mannequin editing or any other photography style? Share your funniest editing fail or your biggest success story in the comments. I’d love to hear what works (and what doesn’t) for you.
Prepping for Each Style: A Quick Checklist
Before I wrap up, here’s a condensed checklist I wish I’d had when I started out. Feel free to screenshot or jot it down for your next shoot:
Ghost Mannequin Checklist
Iron or steam your garments thoroughly so every fold looks crisp.
Use a mannequin that matches your target size (e.g., medium for women’s shirts) to avoid baggy or stretched fabric.
Shoot front, back, and inside collar/label images; keep lighting consistent across shots.
Mark your camera’s position or shoot tethered to maintain consistent angles and framing.
In editing, layer your shots, align seams, and mask out the mannequin carefully using the techniques described in the pillar post and tutorial articles Fixanyphoto.com
Flat Lay Checklist
Choose a clean, neutral backdrop (white foam board, parchment paper, or lightly textured fabric).
Gather minimal props that complement the garment without overwhelming it.
Use a tripod or stand to shoot directly overhead and keep the frame level.
Arrange items with balance and negative space; leave room for cropping and social media captions.
Shoot with diffused natural light or a softbox to avoid harsh shadows.
Model Photo Checklist
Hire or recruit models who reflect your target audience, both in body type and attitude.
Plan outfits in advance; ensure each garment is the focal point, and avoid distracting prints or jewelry.
Create a mood board with poses and angles that highlight fit and movement.
Keep lighting soft but directional to sculpt the body without creating hard shadows.
Communicate clearly with the model, giving gentle direction to achieve consistent, flattering poses.
No matter which style you choose, preparation pays off. A well‑planned shoot reduces editing time and yields images you’ll be proud to put in front of customers.