There’s a magic in a good clothing photo. It can make you fall in love with a pair of jeans or scroll right past a shirt without a second thought. When I first started selling my own clothes online, I figured a phone and a clean bedspread were enough.
My early photos were tidy, sure, but they felt flat and bland. And nothing sold.
It took me a while to realize that photos are invitations. They whisper a story about who you could be in that outfit. That’s when I started studying the shots that made me stop scrolling.
I paid attention to how people styled their Flat Lay Photography, how they arranged accessories, how the textures and colors worked together. Suddenly, the pieces felt alive.
Stop Taking “Nice” Photos. Start Taking Photos That Sell
The first pictures I took of my clothes were well lit and tidy. They were also utterly forgettable. Why? Because they didn’t make anyone feel anything. Clothing photography isn’t just about showing a garment; it’s about telling a story.
A “nice” photo shows a shirt. A “selling” photo makes a viewer imagine themselves in that shirt at brunch or on a sunny walk.
Think about how you browse online. We scroll fast. If a photo doesn’t grab us in a second, we move on. Your pictures should be the hardest working salesperson in your shop, making people pause, click and maybe even picture the item on themselves.
Clothing photography, fashion photos and apparel images might sound like different tasks, but they’re all different sides of the same coin.
They should work together to create a cohesive, appealing brand narrative.
The 5‑Second Brand Vibe Test
People decide whether they like your brand almost immediately. I call this the 5‑second brand vibe test. Pretend your Instagram grid or product page is a person you’re meeting for the first time.
Within five seconds, how would you describe them? Edgy? Cozy? Elegant? If the answer is “I’m not sure,” then your photos aren’t telling a consistent story.
To fix this, I run through a quick checklist before taking any pictures:
-
Colors: Do the colors of this outfit match the tone of my brand? If my brand is soft and earthy, neon sneakers won’t fit.
-
Mood: What feeling do I want this image to evoke? Comfort, adventure, sophistication? The props and lighting should match.
-
Angles: Will the angle help someone understand how the garment fits and moves? Shooting from above may flatten details; shooting straight on might show length and drape.
Take a few minutes to review your existing photos. If they look like they belong to different brands, adjust your palette and props so the next set of images fits a clear mood. Consistency builds trust.
Flat Lay Photography That Makes People Want to Reach Into The Screen
When I first heard of flat lays, I thought, “How hard could it be?” I spread an outfit on the floor, snapped a photo and it looked like a laundry pile.
The secret is that a good flat lay tells a mini story. Your viewer should feel like they can reach into the photo and pick up the items.
I go deeper into this approach in one of my clothing photo breakdowns here: I break down styling steps and simple layout flow here if you want a visual example.
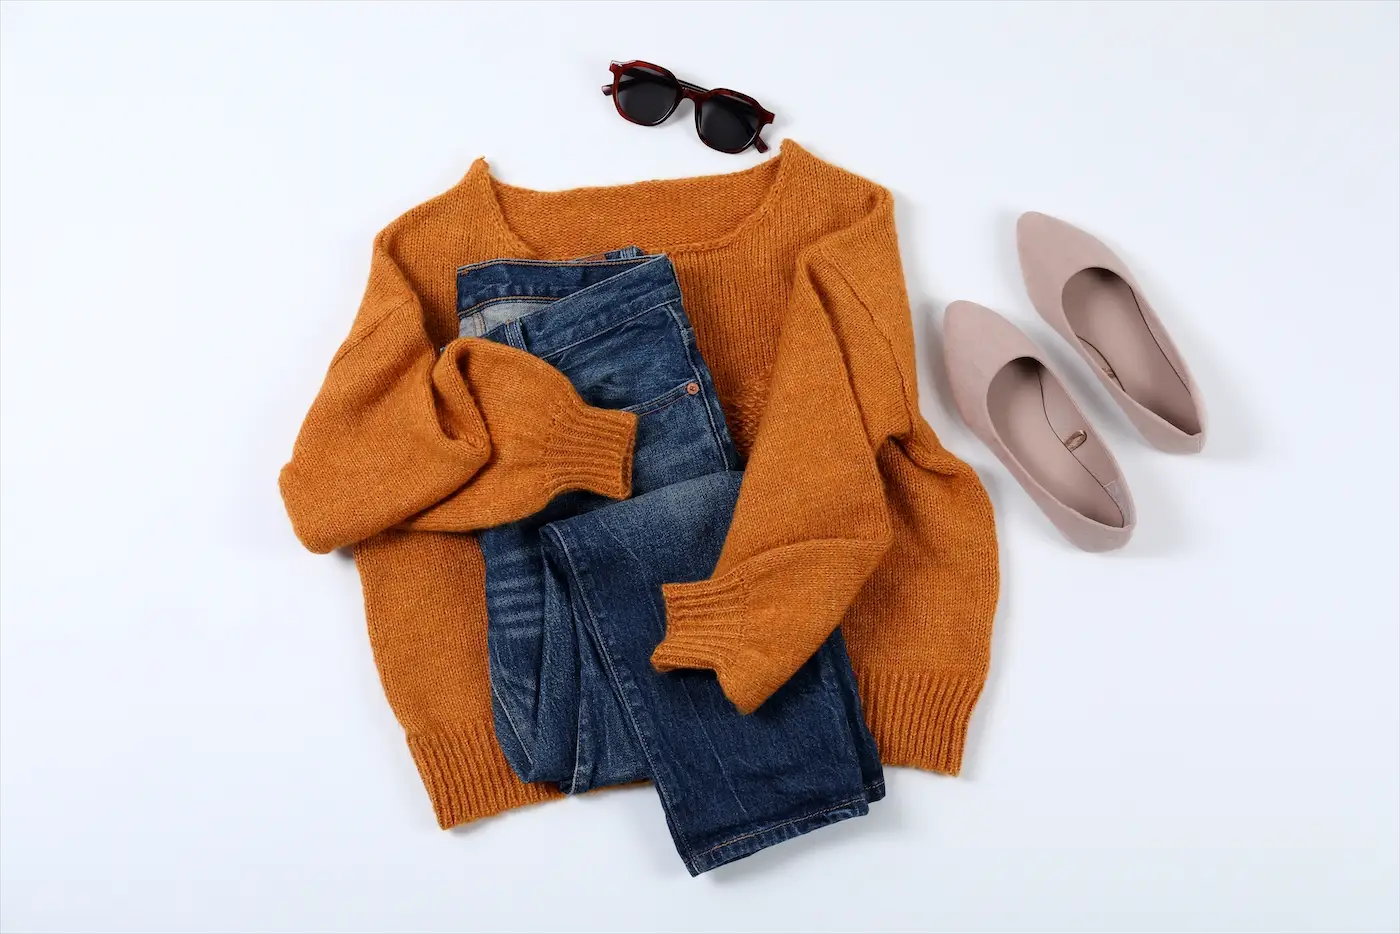
The Rule of Three: Main Piece, Supporting Cast and a Personality Prop
My flat lay formula is simple: pick a hero item, add a few complementary pieces and finish with a prop that hints at a lifestyle. Think jacket with boots and a coffee cup, or dress with sandals and a passport.
Arrange everything neatly and gently fold or roll sleeves and cuffs so the fabric looks lived in, not lifeless.
Choosing a Background: Beyond the Bedsheet
I’m embarrassed to admit it, but my earliest flat lays were all on my bed. It’s convenient, but everyone can tell. Instead, opt for backgrounds that feel intentional.
A large poster board, a neutral vinyl backdrop or a wooden table can instantly elevate your shot. Vinyl backdrops come in marble, concrete or wood textures and roll up for easy storage.
They make your flat lays look editorial without costing a fortune. If you use a natural surface like wood, make sure it’s clean and complements the colors in your clothes. The goal is for the background to frame your items, not steal the show.
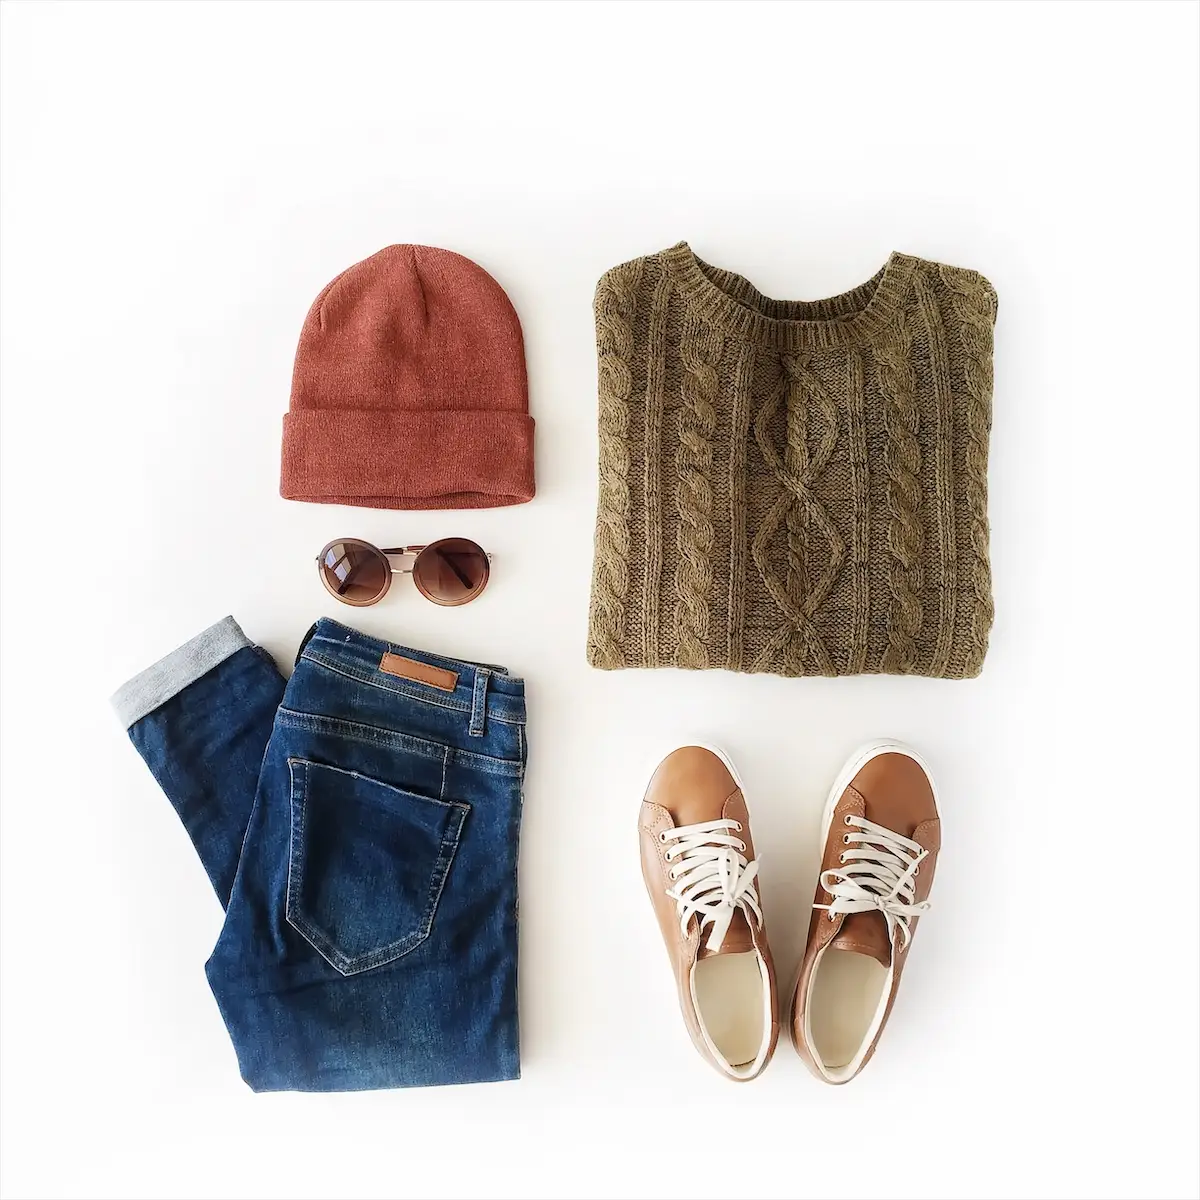
Flat Lay Stories: Evoking a Scene in a Single Image
A flat lay is more than a display; it’s a scene. Instead of dumping items randomly, think about the story you’re telling. Maybe it’s a comfy Sunday at home: a soft sweater, a pair of slippers, a cup of tea and a novel.
Or a travel adventure: a lightweight dress, sandals, sunglasses and a plane ticket. By grouping items intentionally, you help the viewer imagine the outfit in their own life.
One of my favorite tricks is adding something that’s not part of the outfit but hints at the wearer’s life—a pair of headphones for a music lover, a notebook for a student, a passport for the adventurer. It’s amazing how a small prop can transform a simple shirt and jeans into a vibe.
The “Spill Your Bag” Flat Lay
For a playful take on the flat lay, tip an imaginary bag and let a few items fan out. A pair of sunglasses, a lip balm or a folded magazine adds a candid feel. Keep the prop colors tied to your outfit so the result looks intentional rather than messy. This trick adds personality without stealing the show. Here you can find different clothing photography approaches.
Hanger Shots: From Dull to Boutique

Hanger photos often get a bad rap for being bland. But they have their place. A good hanger shot shows the shape and details of a garment without distractions.
It’s especially useful for marketplaces where buyers expect clarity and for complex garments that need to be seen full length.
When Hanger Shots Make Sense
Not every item needs a model. Sometimes clarity trumps all. Hanger photos are helpful when a piece has intricate details like embroidery or special seams.
They also work when you’re selling on platforms that prioritize clean product images. Use hanger shots to complement, not replace, other photos. They’re part of a balanced mix.
Creating a Boutique Feel
Here’s how to make a hanger shot feel like it was taken in a boutique:
To create that polished boutique look, use matching hangers that suit your brand’s style and hang each garment straight.
Keep the frame uncluttered so the clothes can breathe and use soft, even light to show true color and shape. These small choices make a huge difference.
A little care goes a long way. When people scroll through a marketplace and see a crisp, well-lit hanger photo, they stop because it stands out from the usual laundry room shots.
Learning by Roasting Your Own Photos
I keep a folder of my old hanger shots labeled “learning curves.” They’re crooked, wrinkled and taken in front of a messy closet.
Whenever I’m tempted to rush through a shoot, I peek at them and remember that sloppy details make expensive clothes look cheap.
If you catch yourself photographing a garment with wrinkles, take five minutes to steam it. If your background is busy, move to a clean wall. Shoot at eye level rather than from below. Little fixes make a huge difference.
Model Shots: Bringing Clothes to Life
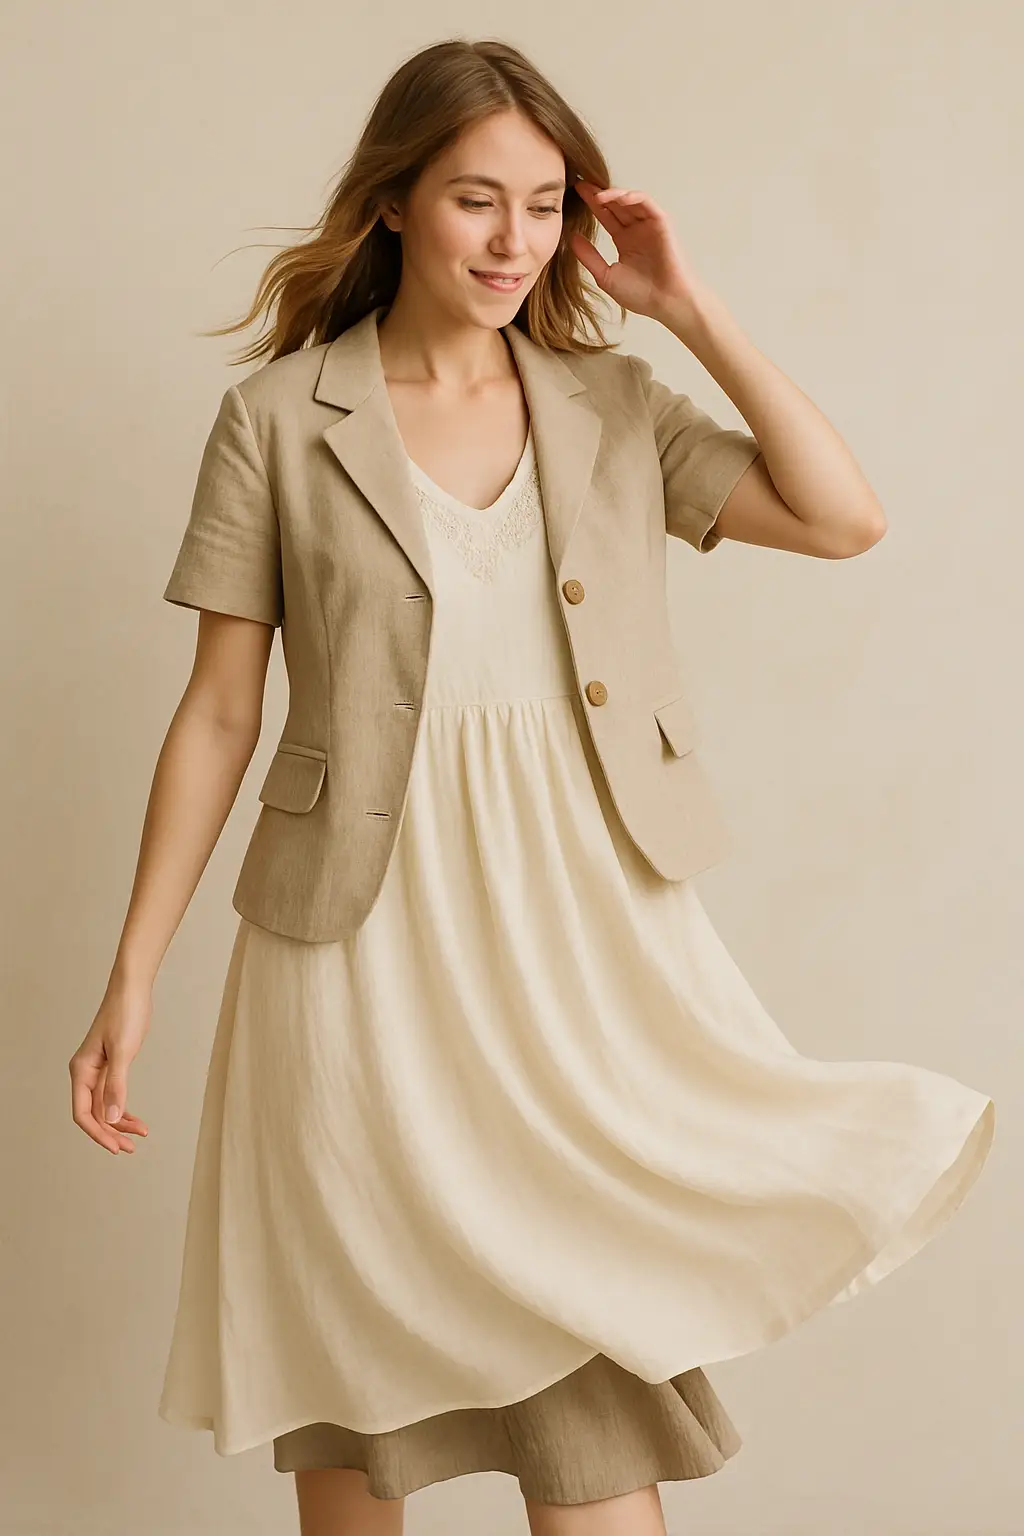
Model shots can turn a flat piece of fabric into a dream. They show scale, movement and emotion. Think back to a time you bought something because you loved how it looked on a model.
Seeing an outfit on a person helps you understand fit and imagine yourself in it.
Why Real Bodies Matter
You don’t need professional models. In fact, real people make your photos more relatable. I started by asking friends of different shapes and sizes to model my clothes.
Suddenly my followers could see how a dress looked on someone their height or how a jacket fit a muscular frame. Showing diversity builds trust and answers practical questions about fit, length and drape.
Movement Tells a Story
Static poses can make clothes look stiff. Encourage your model to walk, twirl, play with their hair or adjust their sleeves. Movement shows how fabric flows and stretches.
If you’re shooting a skirt, capture it mid‑twirl so viewers can almost feel the swish. If it’s a structured blazer, photograph someone reaching or leaning to show it stays sharp. Movement injects life and makes people imagine wearing the garment in their own adventures.
To Crop or Not to Crop
There’s a balance between showing a model’s face and cropping it out. A full face fosters connection, you see the smile and think, “She looks happy in that dress, maybe I will too.”
Cropping above the lips, however, lets viewers imagine themselves in the outfit and focuses attention on the garment. Mix both styles for variety.
The Psychology Behind High‑Converting Clothing Photos

At first glance, photos just look like pretty pictures. But there’s psychology at work. The right lighting, colors and composition can build trust and make people feel secure about buying.
Building Trust through Details
Buyers want assurance. They want to feel that what they see is what they’ll get. Consistent lighting across your photos signals professionalism.
If one image is blue and gloomy and the next is bright and warm, it looks like you’re hiding something. Stick to one kind of light source.
Natural light is my favorite; shooting near a window keeps colors true. If you use artificial lights, learn your settings so each photo has the same tone.
Detail shots are critical. Zooming in on stitching, buttons or texture reassures shoppers about quality. A close‑up of a thick knit or crisp seam says more about value than a long paragraph describing the fabric.
When people can almost feel the texture through the screen, they’re more likely to trust that the garment is well made.
Feelings Over Features
You’ve probably read product descriptions listing features like “100% cotton, 30-inch inseam, machine washable.” Those are important, but people connect with feelings.
Instead of just stating “100% cotton,” pair it with an image of someone looking cool and comfortable while commuting on a summer day. If a dress is flowy, show it swirling in the breeze.
If jeans are stretchy, photograph someone jumping or doing a high kick. Show them the joy that comes with wearing the clothes. This turns the feature into a feeling they can imagine.
Building Your Photo System: Stay Organized, Stay Creative
Taking photos can quickly get overwhelming. Between flat lays, hanger shots, model poses and videos, you can end up with hundreds of images and no plan.
I used to shoot randomly and then scramble when it was time to post. Now I follow a simple system: six shots per outfit and batch my work.
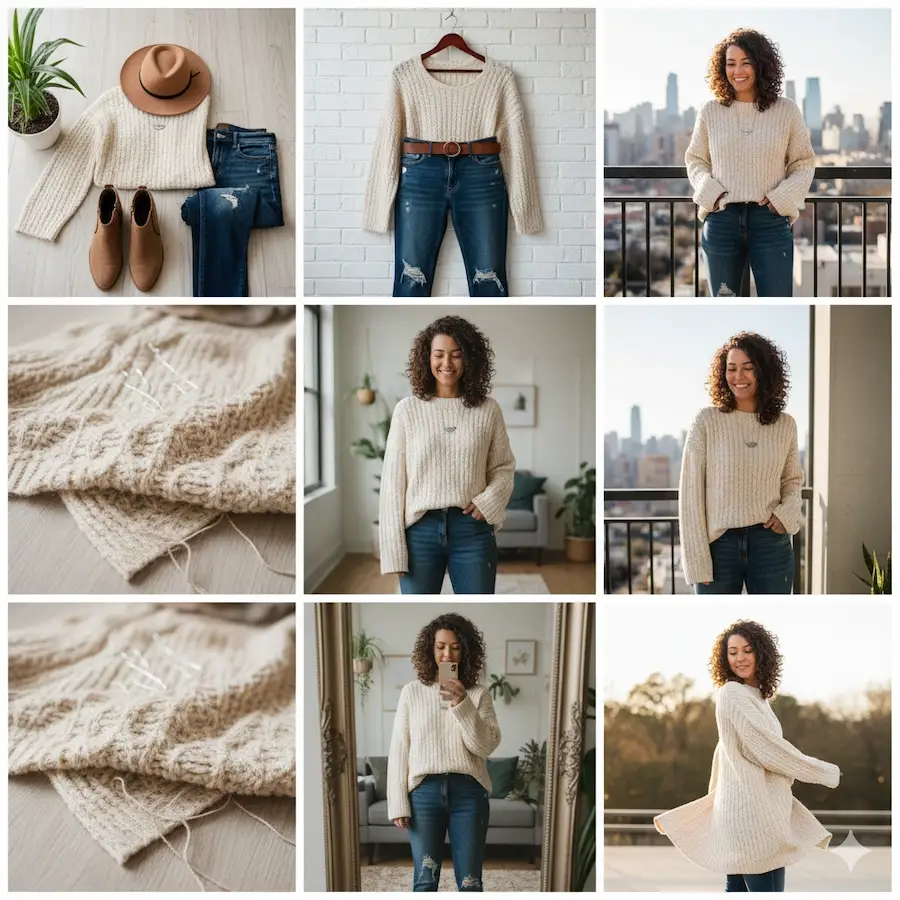
Six Shots per Outfit
When I shoot an outfit, I aim for a variety of perspectives: a flat lay for styling inspiration, a hanger shot for structure, a lifestyle photo on a model, a close‑up of fabric details, a casual selfie or mirror shot and a short video to show movement.
With this handful of angles, you can fill your product page, socials and ads without scrambling for new content.
Batch Your Shoots Like a Pro
Avoid chaos by dedicating a single day to shooting multiple outfits. Prep clothes and props in advance, then capture all your flat lays, hanger shots and model poses in one session.
Later, select the best photos and edit them as a set to maintain a consistent look. Batching reduces stress and makes your feed feel polished.
Mistakes That Instantly Cheapen Your Photos (And How to Fix Them)
Even the best of us make mistakes. Luckily, most are easy to fix once you know what to look for.
Over‑Editing
It’s tempting to slap a dramatic filter on everything, but over‑editing can make fabrics look plastic and colors unrealistic. Keep adjustments light.
Increase brightness slightly, tweak contrast and sharpen gently, but resist the urge to transform. Your goal is to enhance what’s there, not create a new reality.
Inaccurate Colors
Nothing leads to returns faster than color mismatch. Indoor lighting can cast strange hues on fabrics. To avoid this, use natural light whenever possible and check your camera’s white balance.
If your whites look yellow or your reds look purple, adjust the settings or move to a different spot. Editing tools can fine‑tune colors, but the closer you get in camera, the better.
Busy Backgrounds
Patterns, clutter or bright colors behind your subject will compete with the clothing. A messy bedroom or a patterned sheet draws the eye away from your product. Keep backgrounds simple.
Use plain walls, neutral vinyl backdrops or clean surfaces. If you shoot outdoors, look for minimalistic spaces like concrete walls or subtle brickwork.
When you catch these issues (and you will), don’t panic. Laugh at the mistake, adjust and try again. The more you shoot, the more you’ll spot potential distractions before clicking the shutter.
The “Add to Cart” Checklist
You’ve taken your photos, edited them and you’re ready to post. Before you hit upload, run through this checklist:
-
Fit clarity: Does your set of photos show the garment from multiple angles? A front, back and side view can prevent returns.
-
Color accuracy: Double‑check that the color on screen matches the item in real life. Review your photos on different devices if possible.
-
Emotional connection: Is there at least one photo that tells a story or sparks a feeling? People buy emotions more than facts.
-
Cohesive set: Do your flat lay, hanger and model shots feel like they belong together? They should share lighting, colors and mood.
-
Personal approval: Finally, ask yourself, “Would I buy this based on these photos?” If the answer is no, tweak until you’re convinced.
If you can confidently tick each box, then hit publish. You’ve turned a piece of fabric into a living story that people can see themselves in.
Wrapping Up
Taking great clothing photos isn’t about having the fanciest camera or endless props. It’s about telling a story with care, consistency and personality.
Every flat lay, hanger shot and model photo is a chance to make someone stop scrolling and imagine life in your clothes. Keep practicing, stay playful and don’t be afraid to roast your own work now and then.
Your wardrobe deserves to shine, and with these tips, your photos will do just that. Above all, have fun with it. Photography is a creative playground, and even missteps teach you something valuable.
With each shoot you’ll refine your eye, build confidence and craft a gallery that feels uniquely yours. There is no perfect image, only progress and plenty of unexpected joy along the way.